Elevators Part IV - Trim Tab
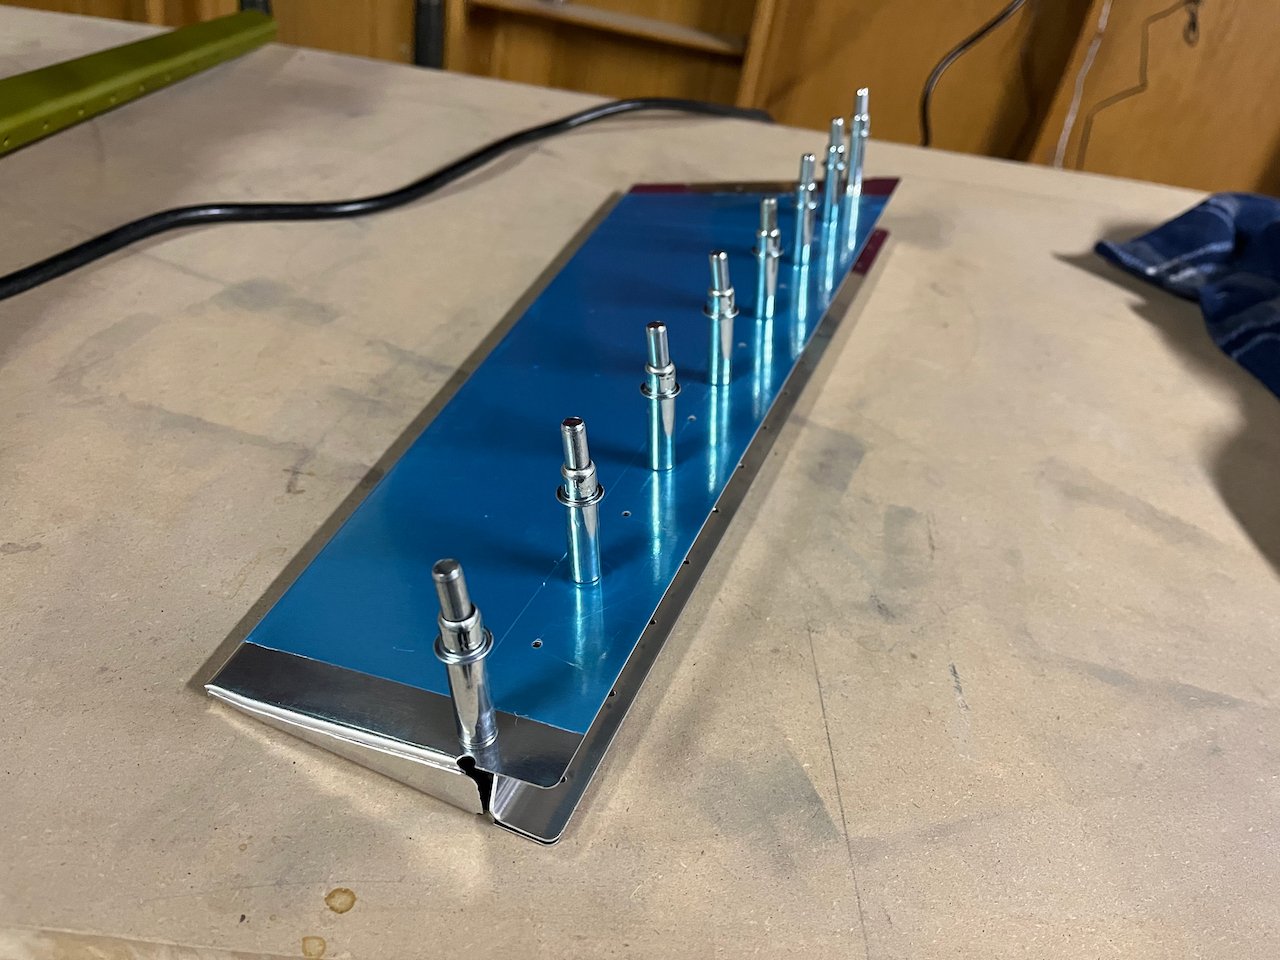
Next up was making the trim tab. This required a similar bending technique as the elevator bends in the last part. I used the same bending blocks with green tape to prevent them from slipping, which worked pretty well. These bends turned out pretty straight. The biggest tip on making these bends is take time on the setup. If your clamps are set slightly off, take everything apart and reset them. I took a pretty good amount of time checking that everything was aligned perfectly, only to take about 30 seconds on doing the bending.
Once the ends were bent, I riveted the bottom side of the trim tab spar. Since the trim tab spar is a “S” and not a “C”, it was quite a pain to rivet the inside. A squeezer wouldn’t fit, so I barely got a bucking bar on the inside without bending the skin too much, and set the rivets “manually.”
Then, it was time to fit the hinge. The dimensions given in the instructions got me pretty close to where I wanted to be, and then slightly adjusted it once I put it on the elevator. There is a lot of fitting up, drilling, taking apart, and putting it back together involved in this part. Riveting it all together was pretty quick and it turned out pretty good! It took a while to try and get the hinge pin to fit, but I sharpened the end a tad put and put some wax on the end and it slid through super easily after that. It was pretty satisfying being able to move the trim tab up and down!
Also, should have mentioned this in the last section, (kind of how I should have remembered to do to this earlier), but make sure to rivet the nut plates for the trim plate before you closeout the skin, cause it’s a pain to get to them otherwise…