Elevators Part III
There were two challenges with finishing up the right elevator, that I worked through pretty good. The first was that there are a couple rivets that attach the ribs to the skin near the trailing edge that you can’t get a squeezer or a bucking bar in because the space is too tight. I ended up using a technique where you indirectly back rivet these rivets. It involves setting up the rivets for back riveting, running a thin piece of steel touching the rivet and then outside of the skin, and then hitting the steel with the gun instead of the actual rivet. It took a while to dial the process in and figure out the thickness of steel to use, but ultimately I’m pretty happy with the results.
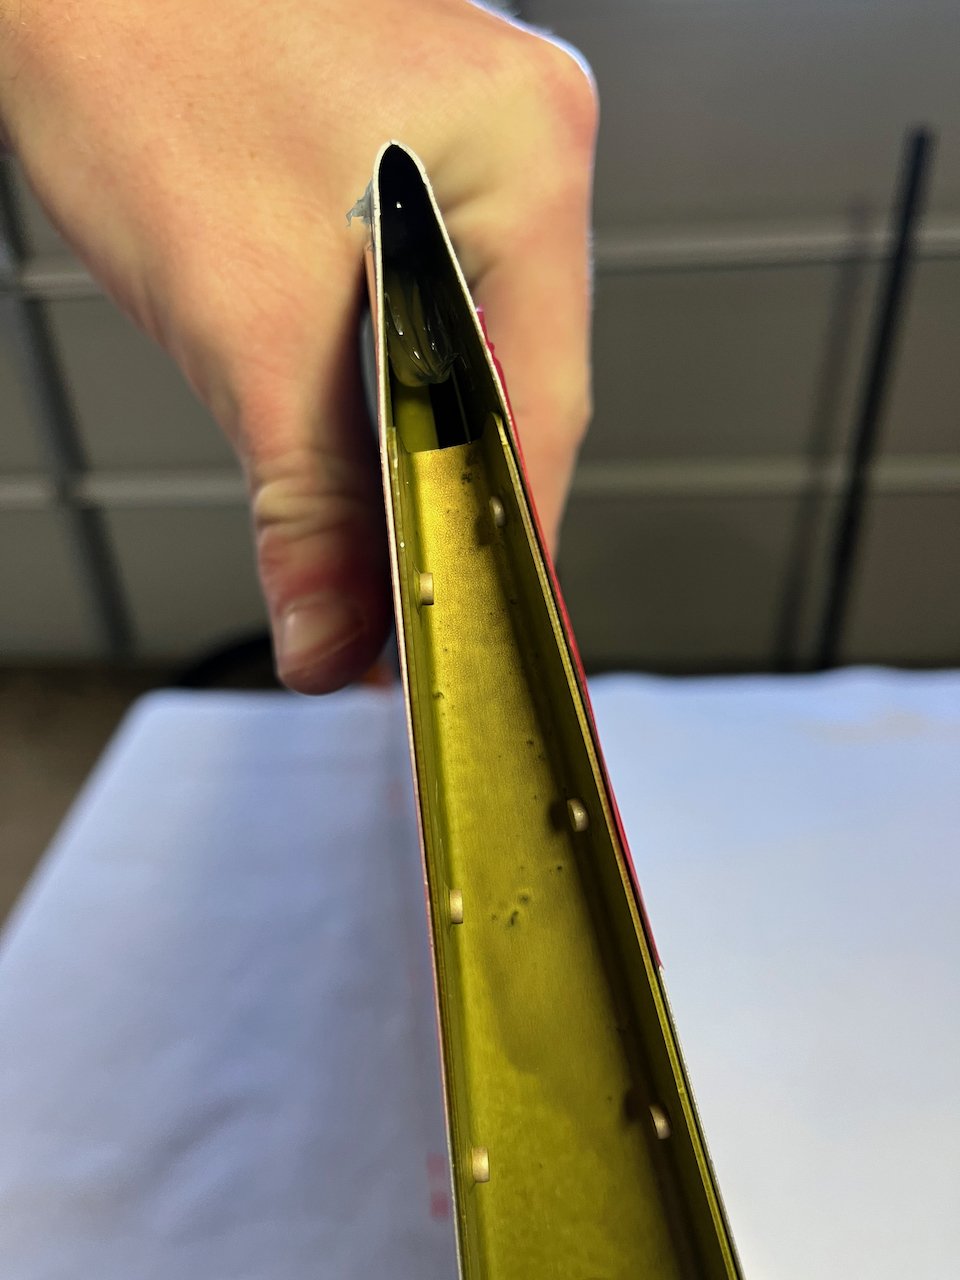
Then came bending the skin for the trim tab. This was my first time bending a tab on the RV so I really took my time on the setup. I used blocks like Vans recommends and clamped the whole setup to the table. I used some sticky green tape to put between the blocks and skin to prevent slipping, which worked really well. I did the initial bend using another block and then finished it off hitting it with the rivet gun. Overall, the bend turned out pretty well, except for a small section near the forward edge where it looks like the block wasn’t far enough out. It looks like of annoying, but it’s a pretty small bend and relatively un-noticable. Now on to bending the trim tab…