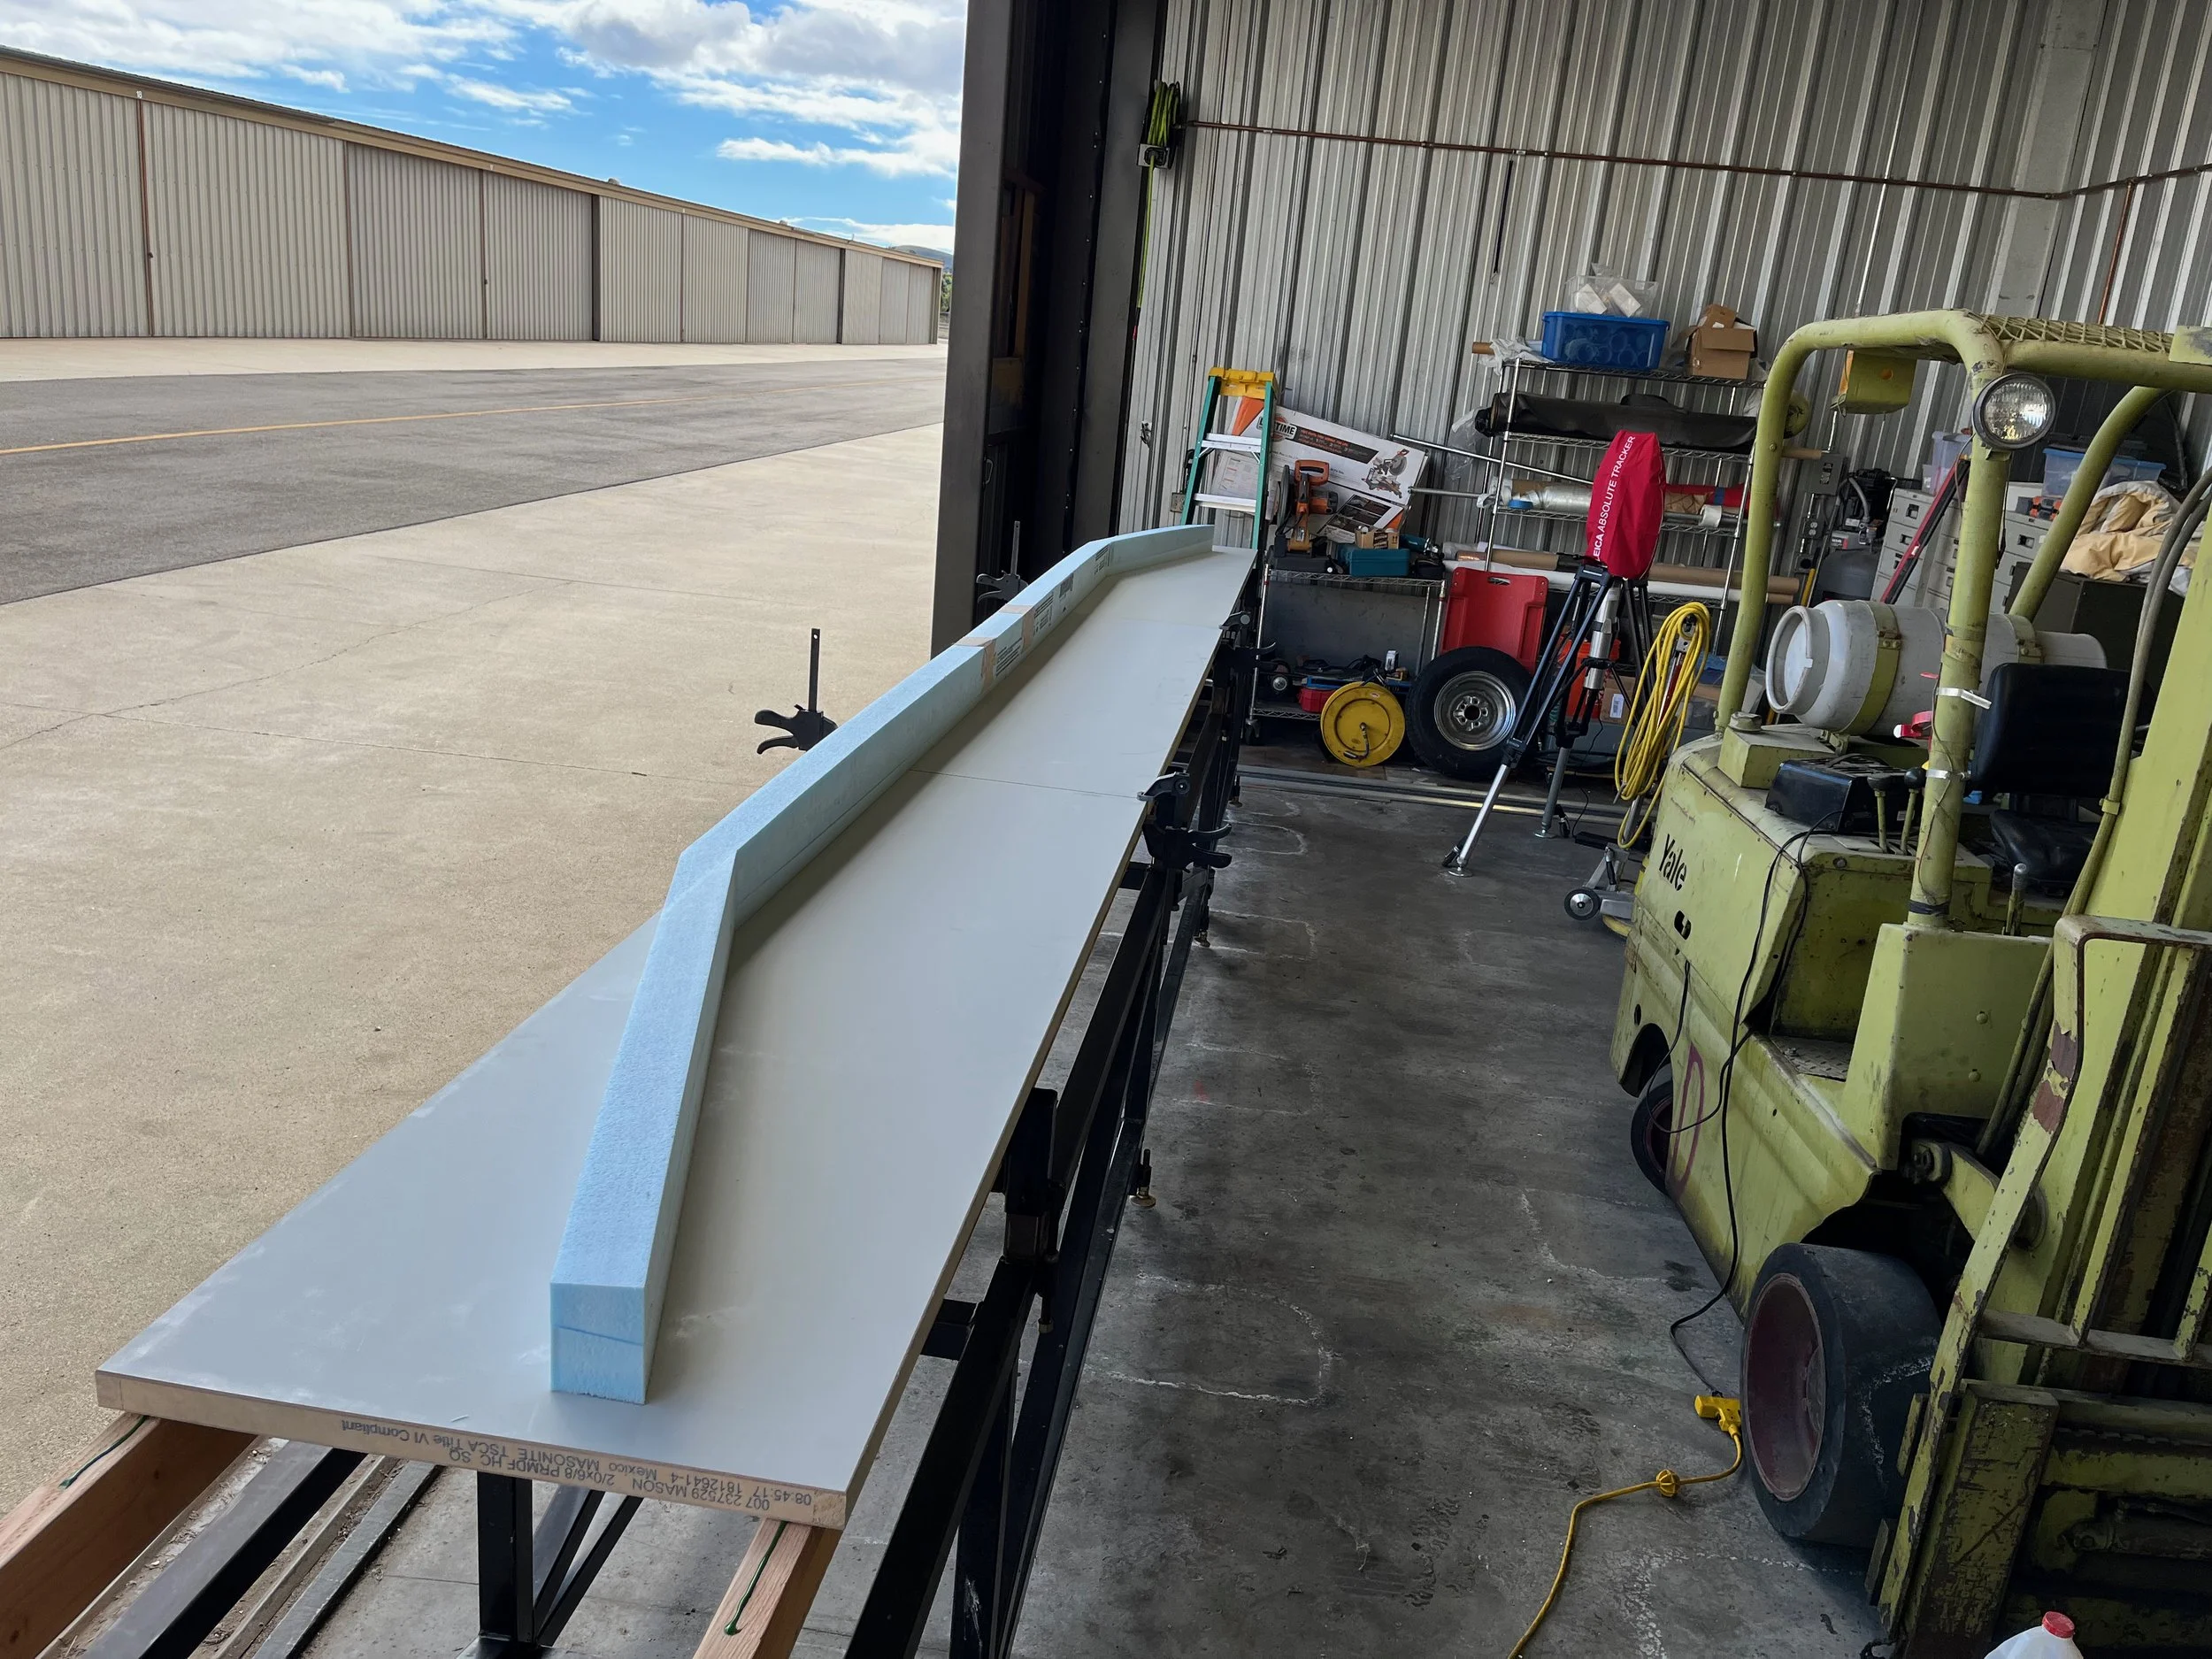
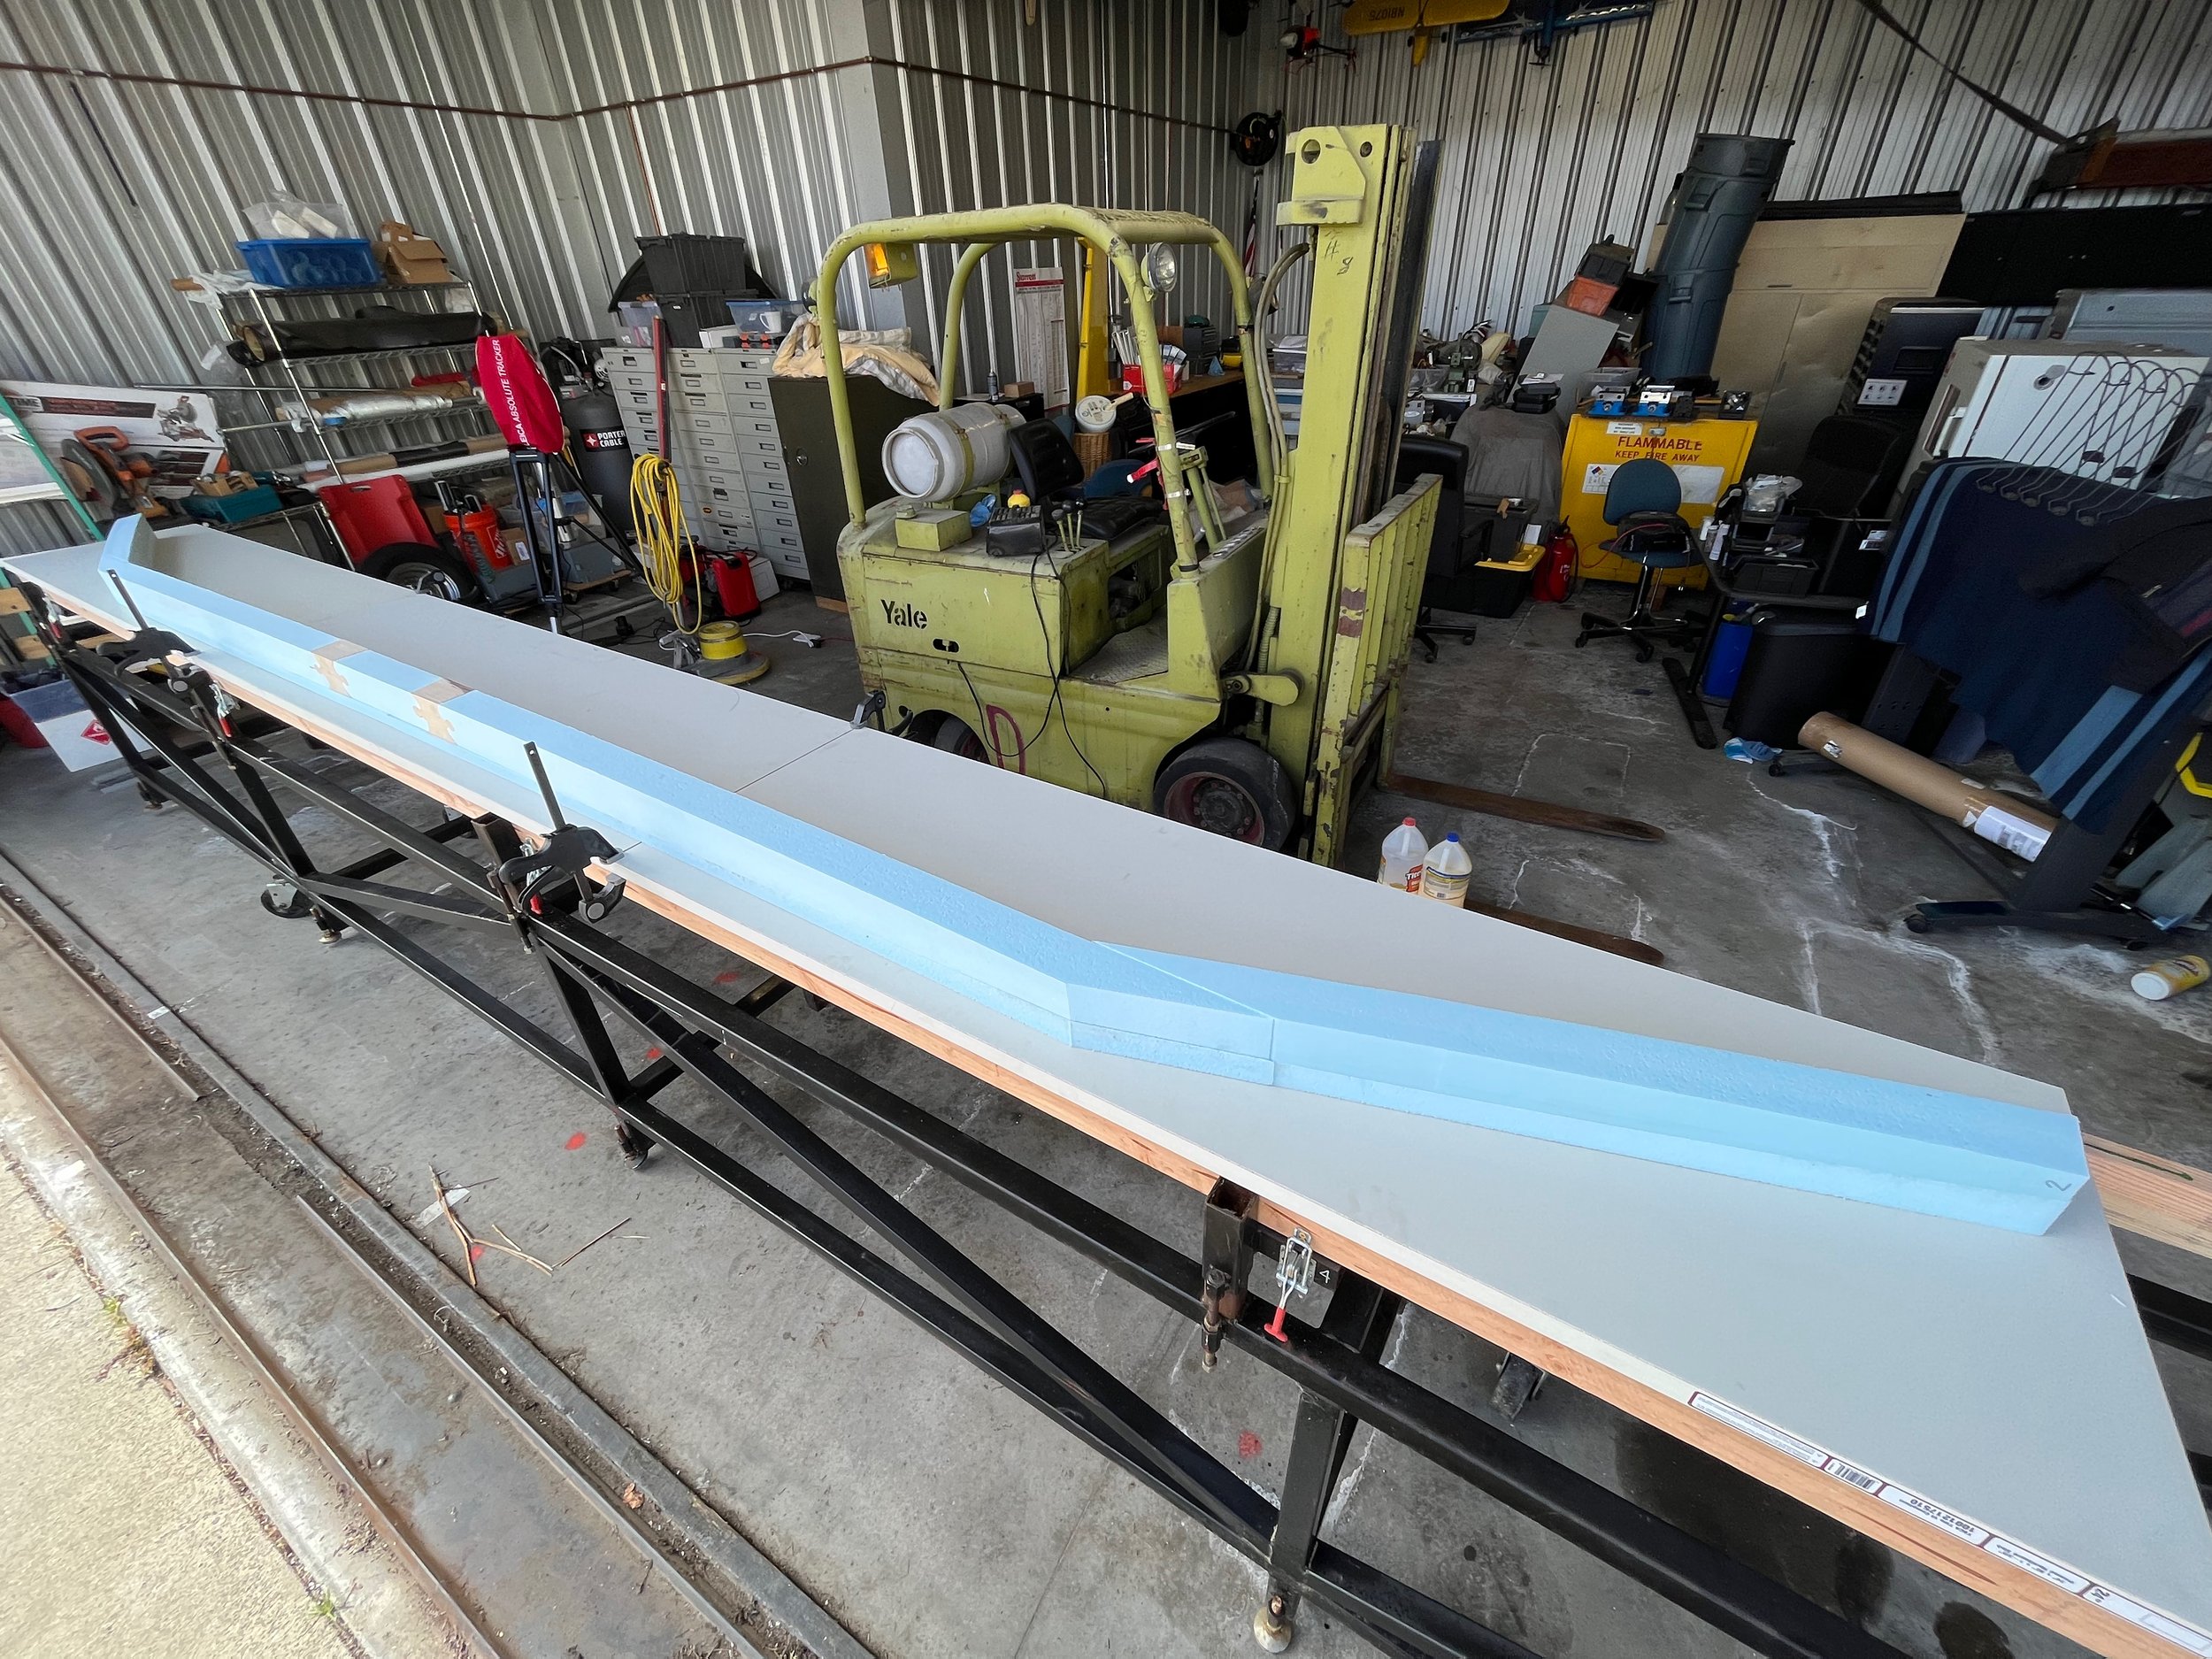
Spar Cap Prep
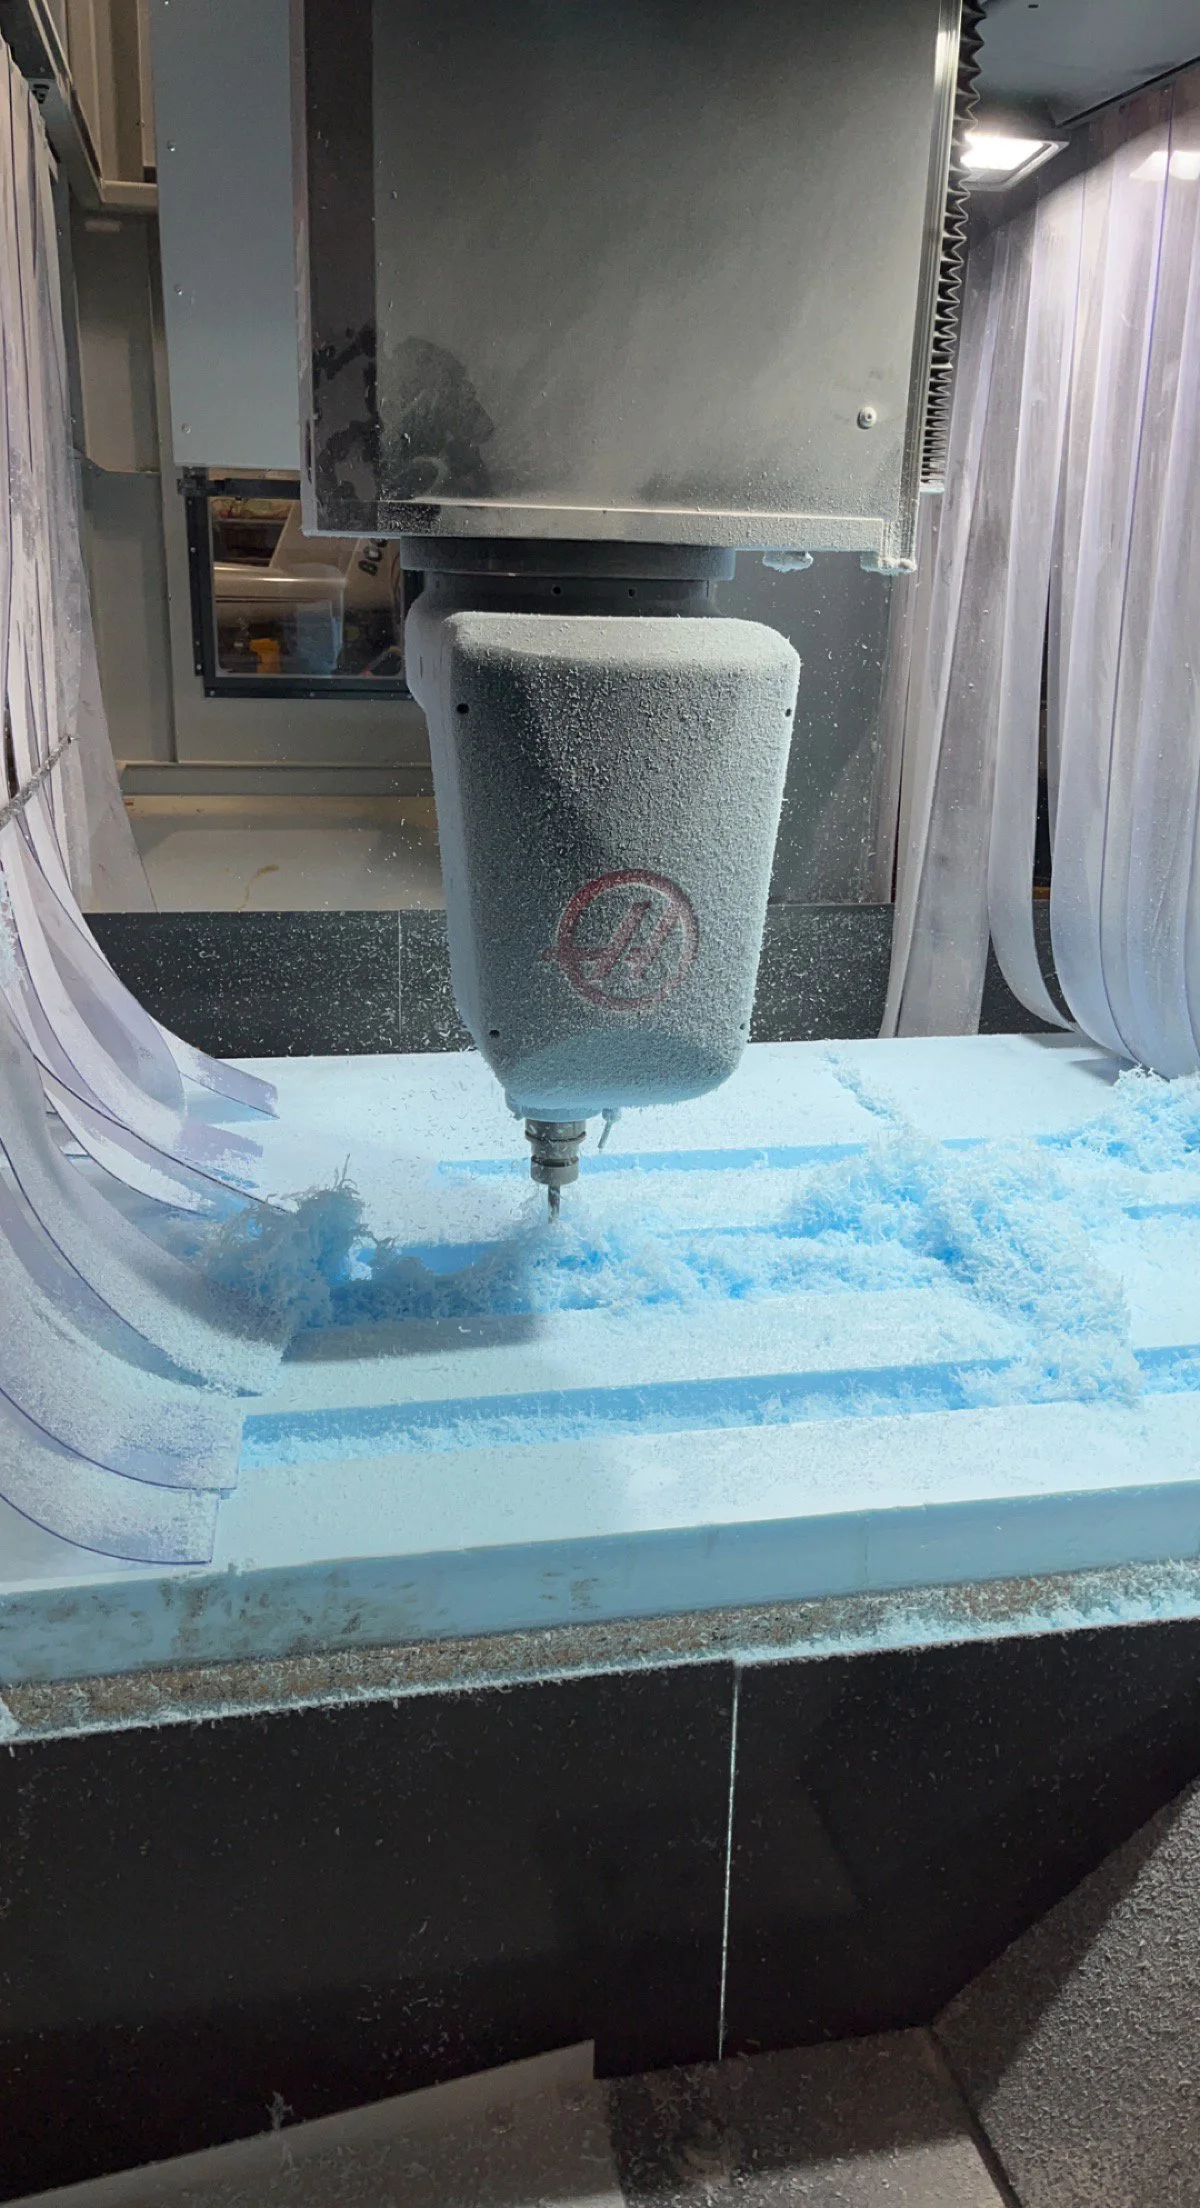
After making some changes to the aesthetic design of the wing to make this truly one of a kind, we locked in the CAD model and were ready to start cutting parts. We went to Cal Poly and stole some blue foam that I used to use in my Aero121 class when I was a freshman. We made gliders out of this foam, but guess they don’t make foam gliders any more so it was up for grabs. We brought the foam back to the airport and began using Cal Poly’s new 5 axis CNC gantry to cut the core foam and the bed that it sits on.
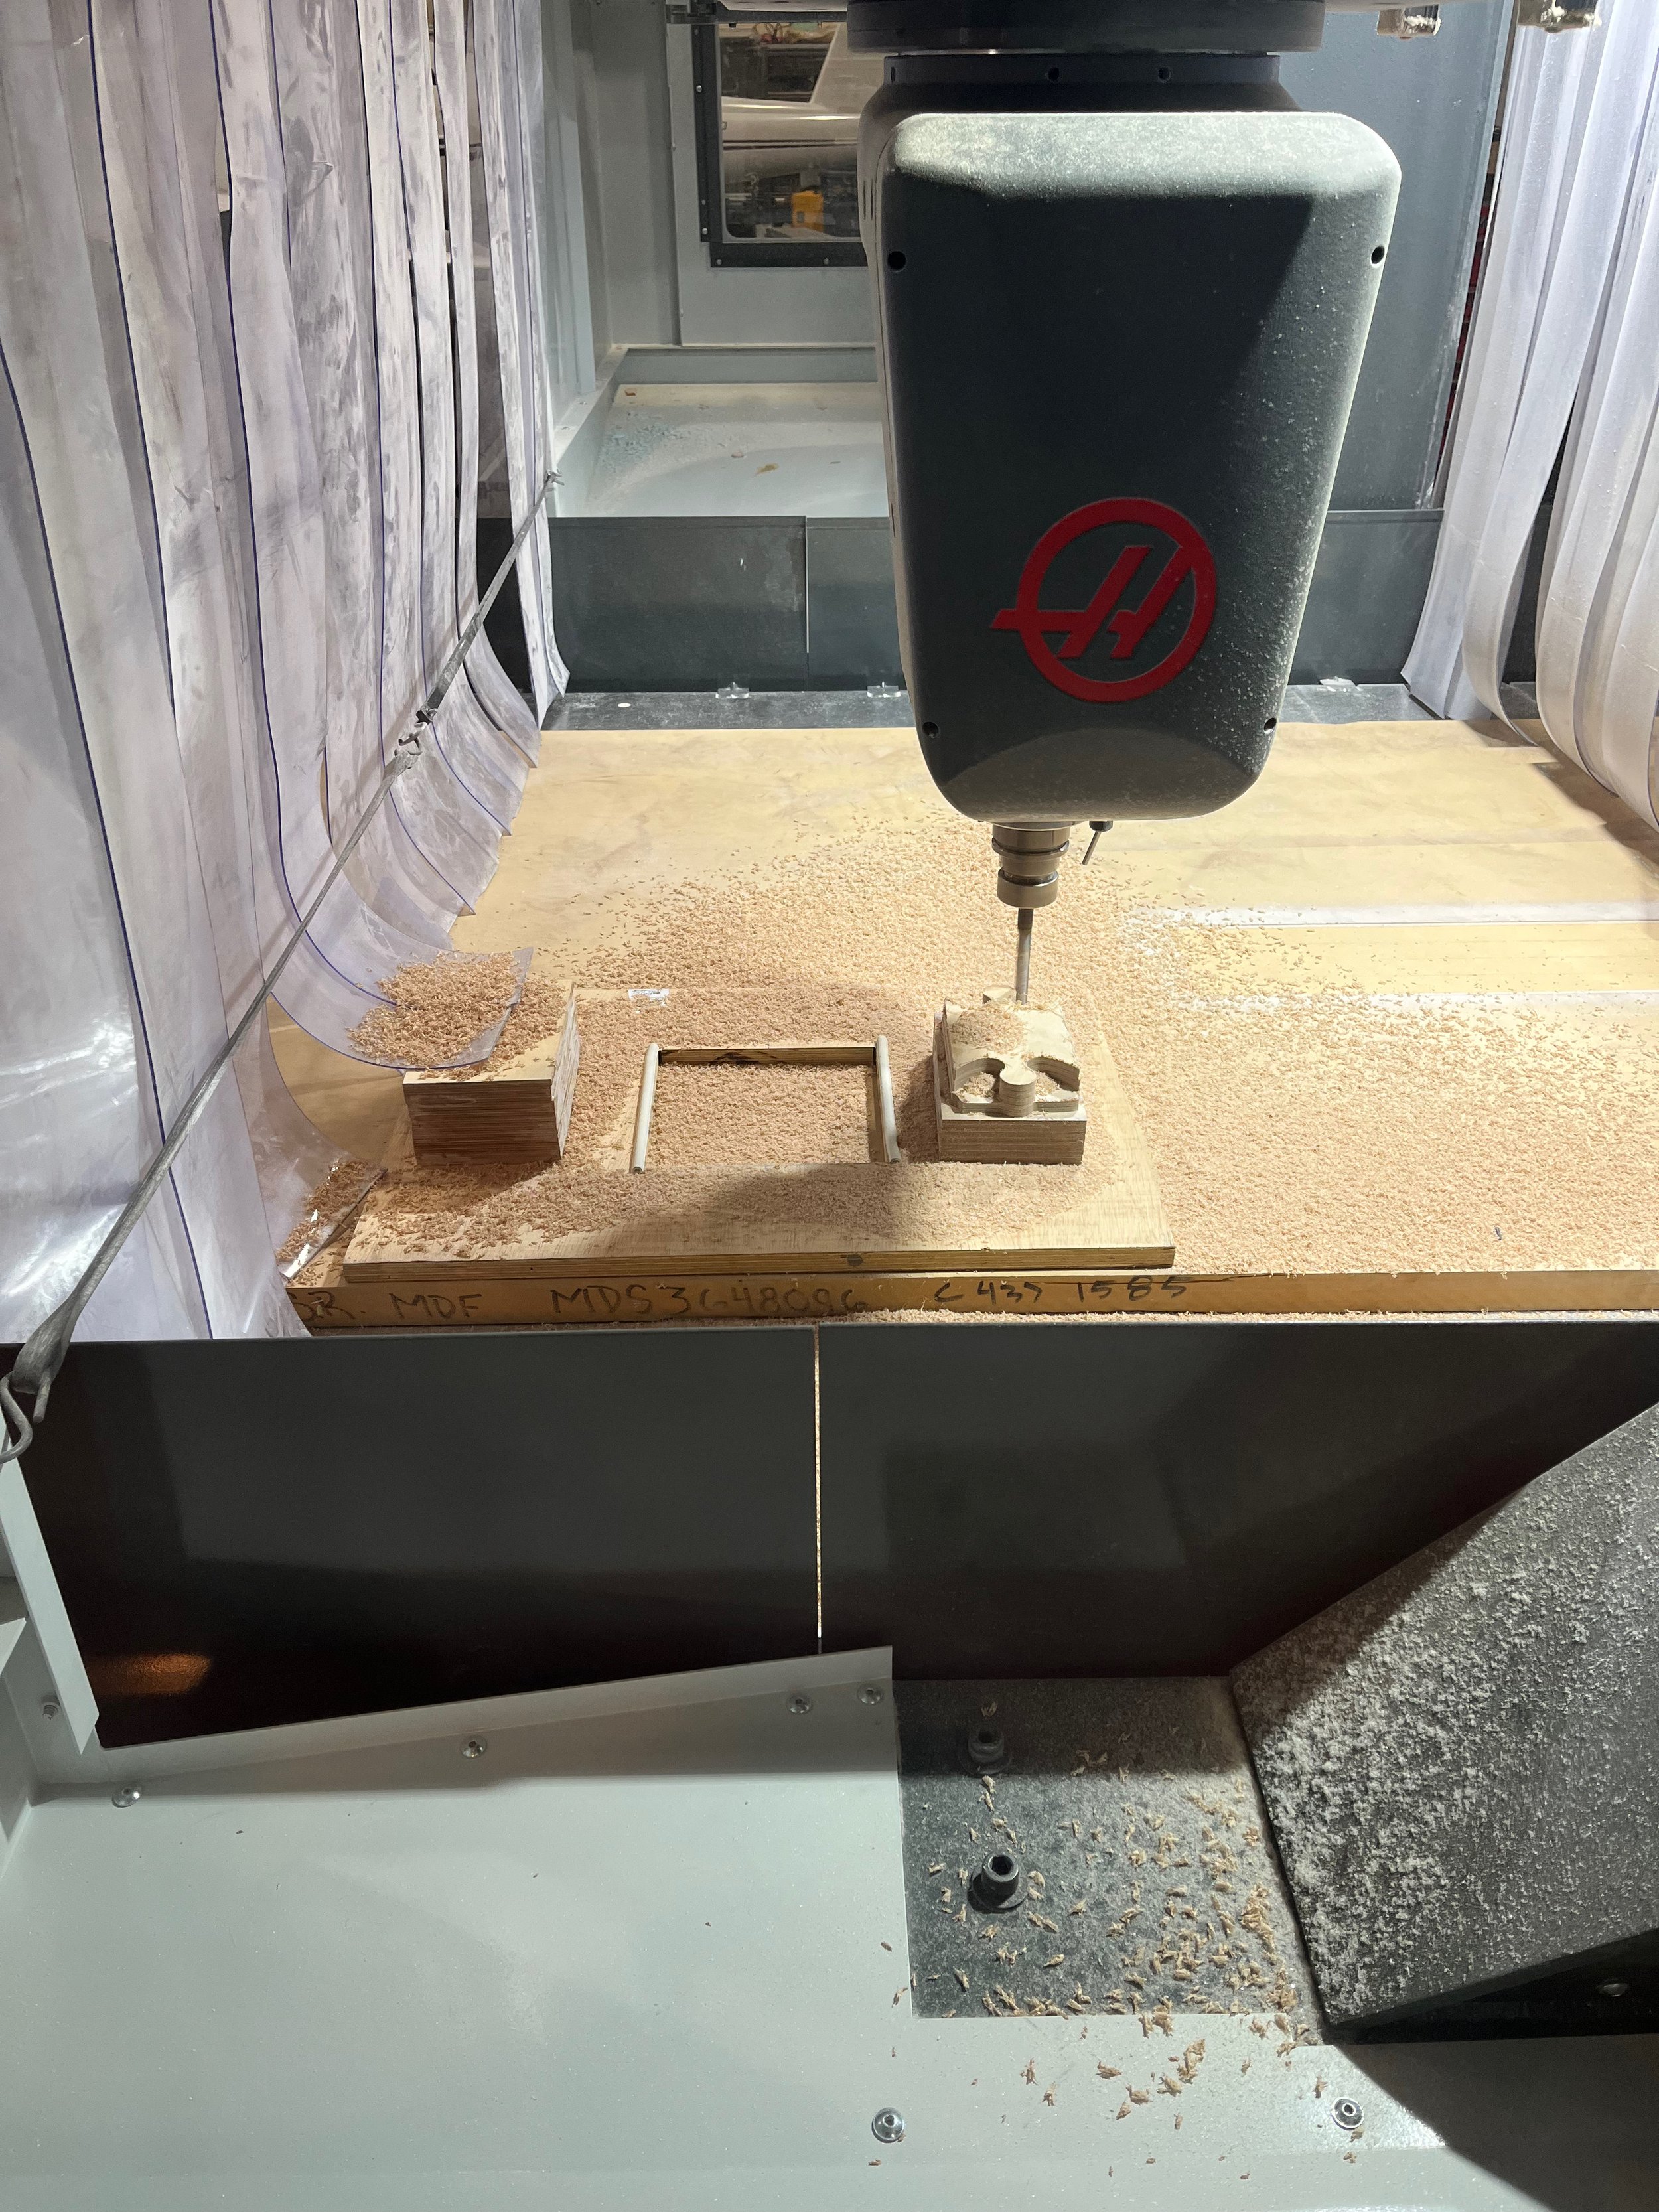
On the Cassutt, the spar is held down to the fuselage with two U-bolts. To provide a hardpoint for the bolts to clamp against, I cut and laminated pieces of birch plywood together and then cut them out on the machine.
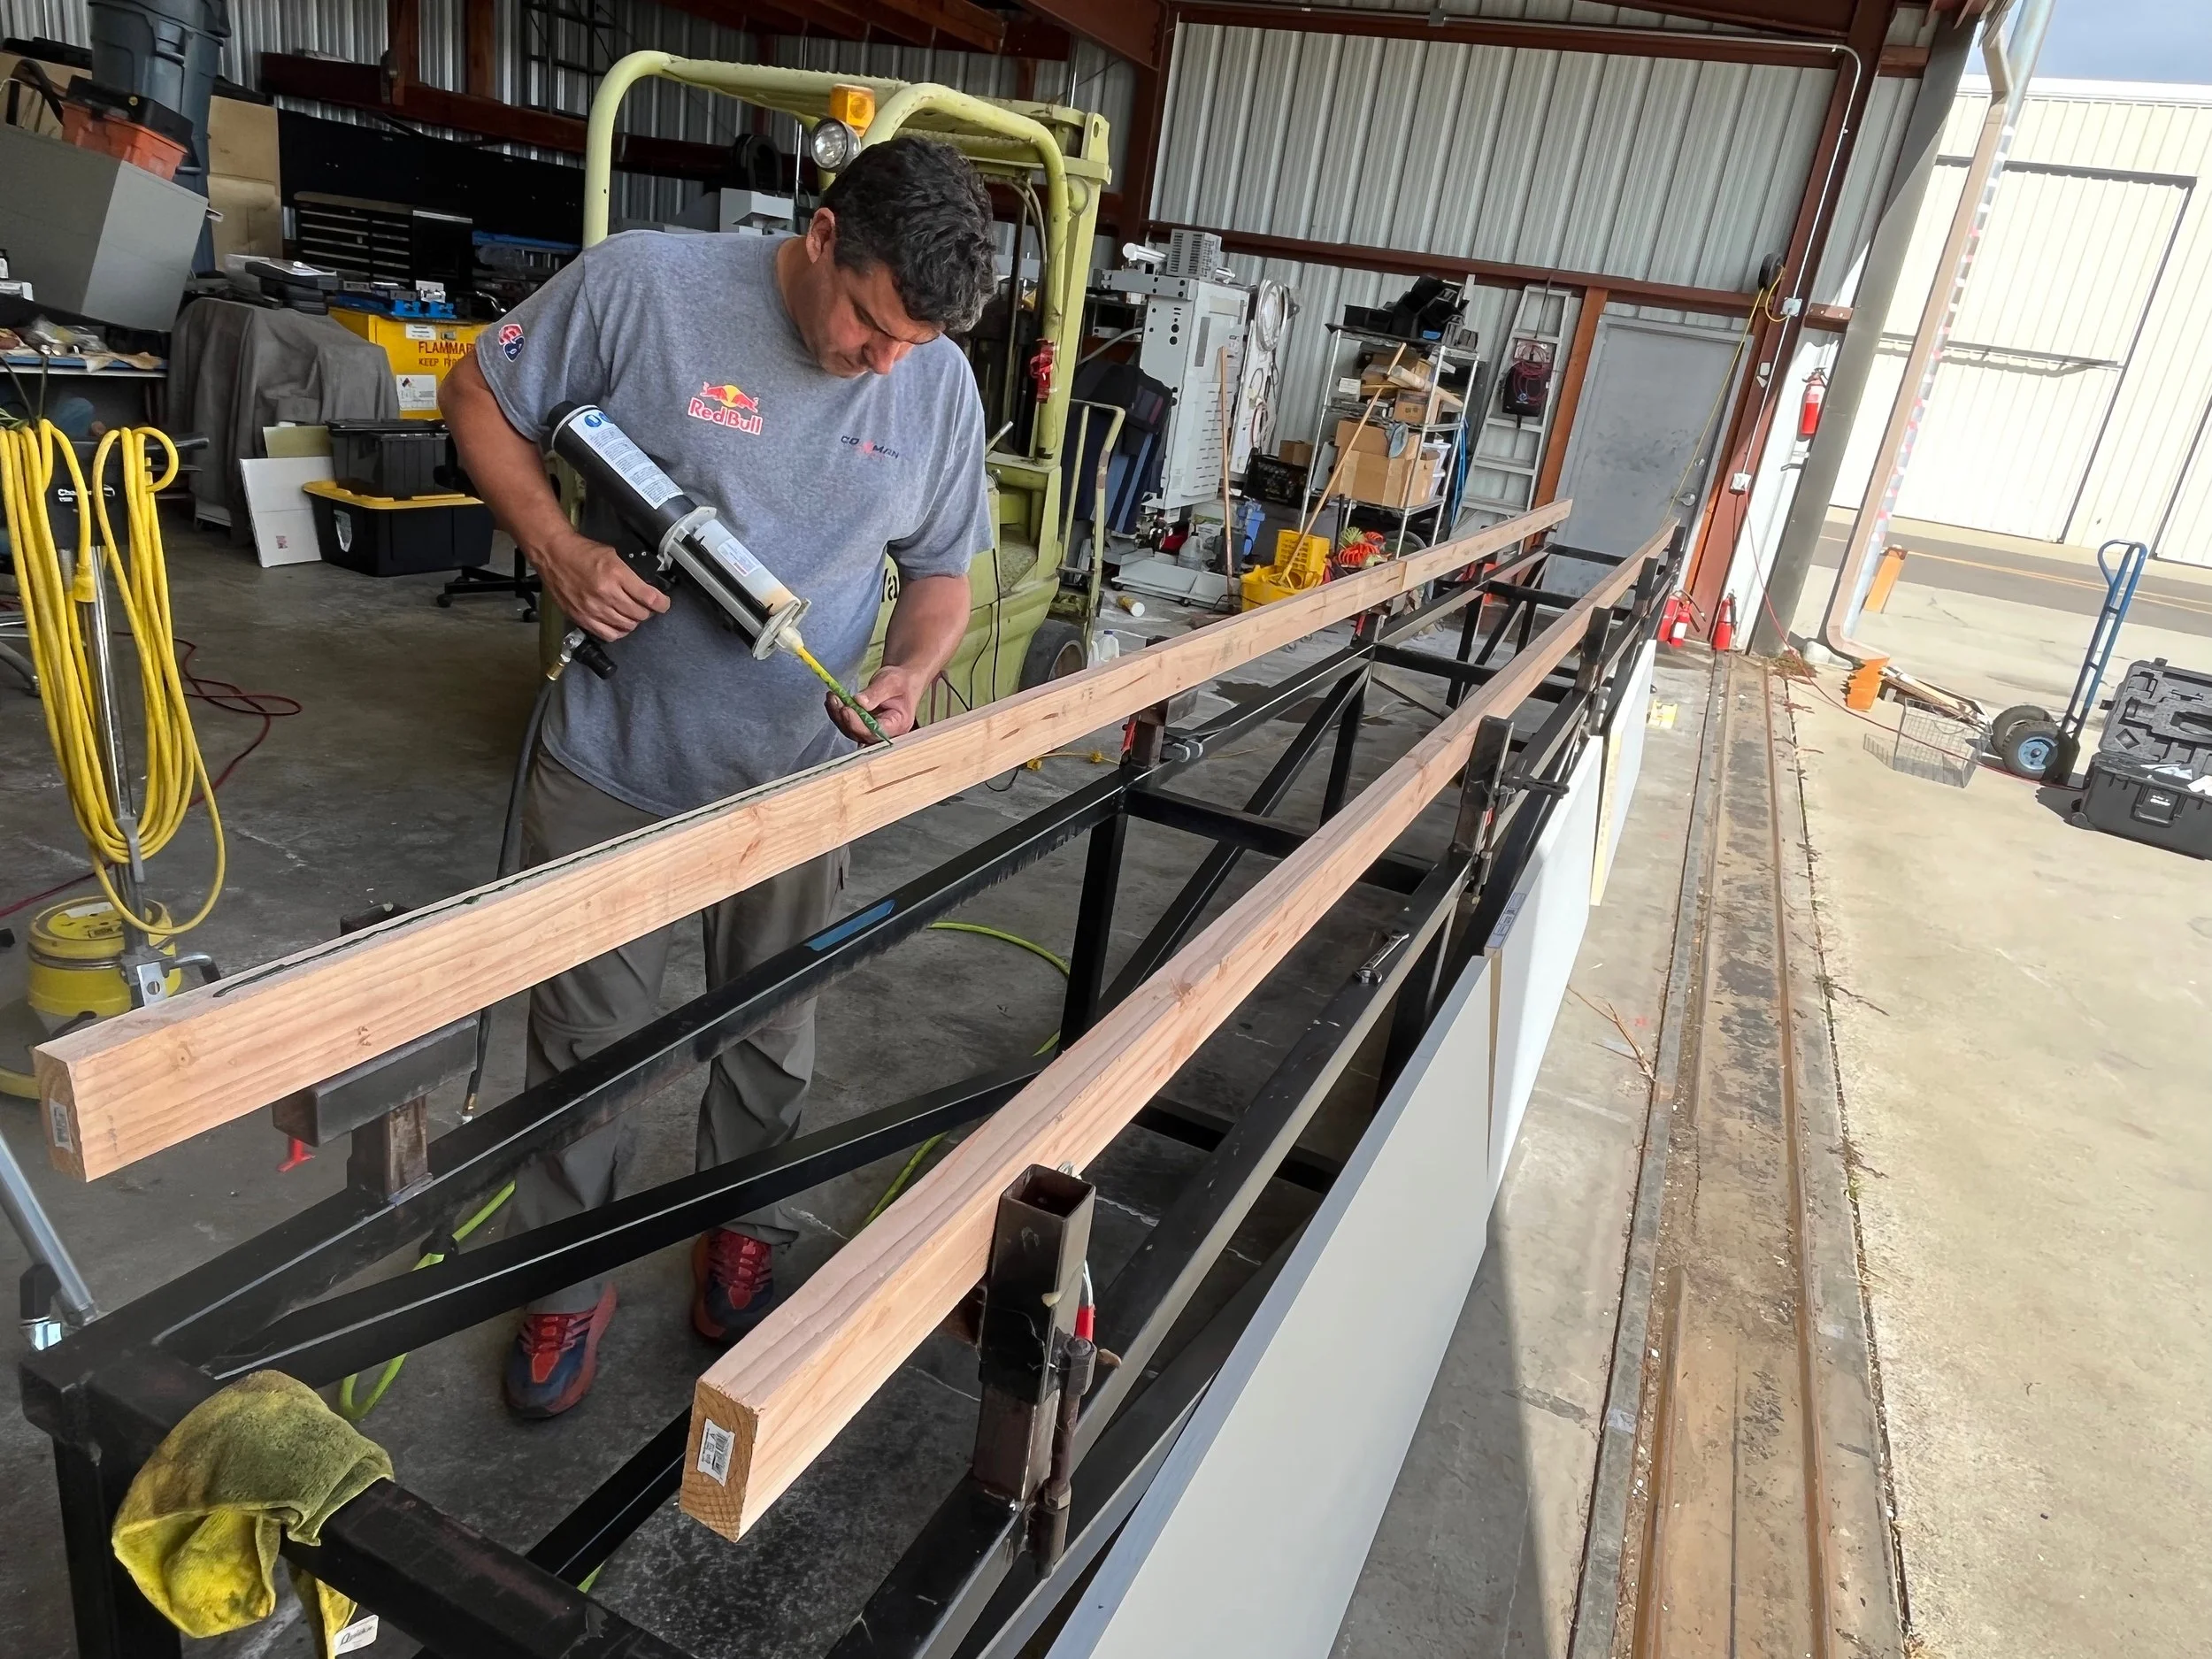
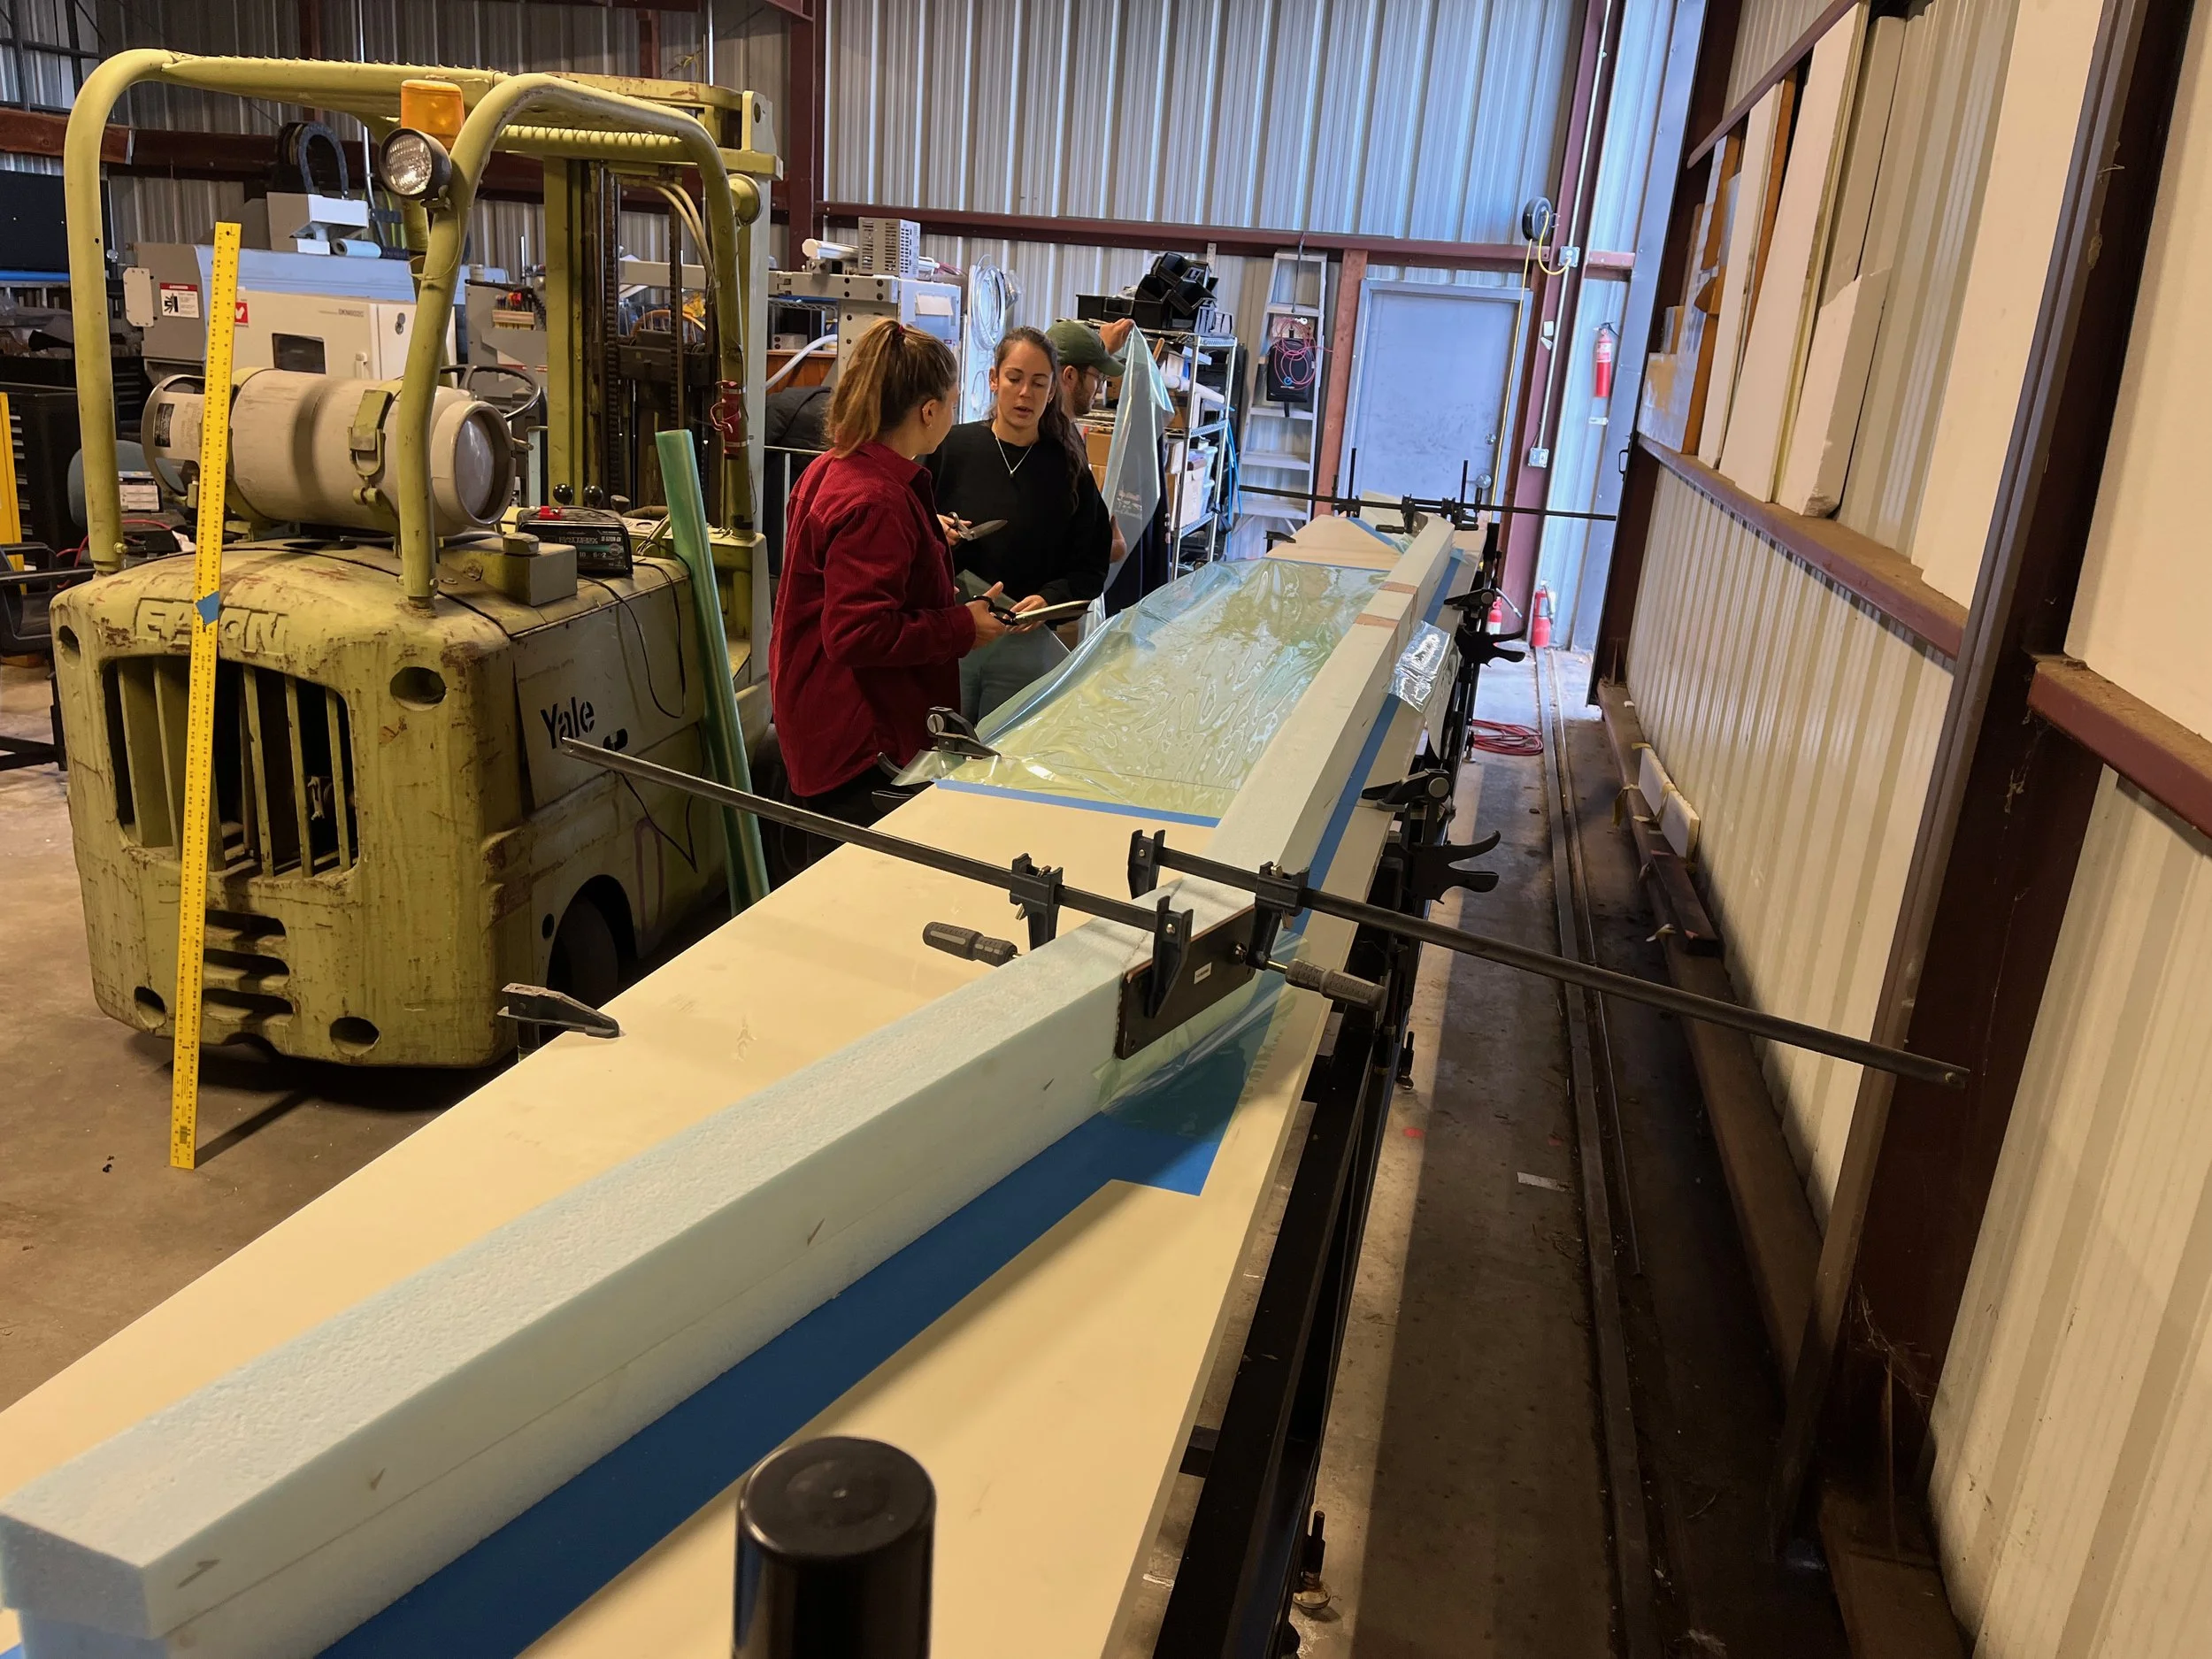
The table that we assemble the spar on needs to be flat and straight to provide a solid datum for the spar to be built on. We used a large steel frame that Paulo had and adapted it to hold 2x4s and doors. Turns out regular doors you get at home depot are great for using as flat surfaces because they are light, straight, and cheap. We laid out the spar carefully on it’s bed on the table and secured it until we were ready for the first layup.
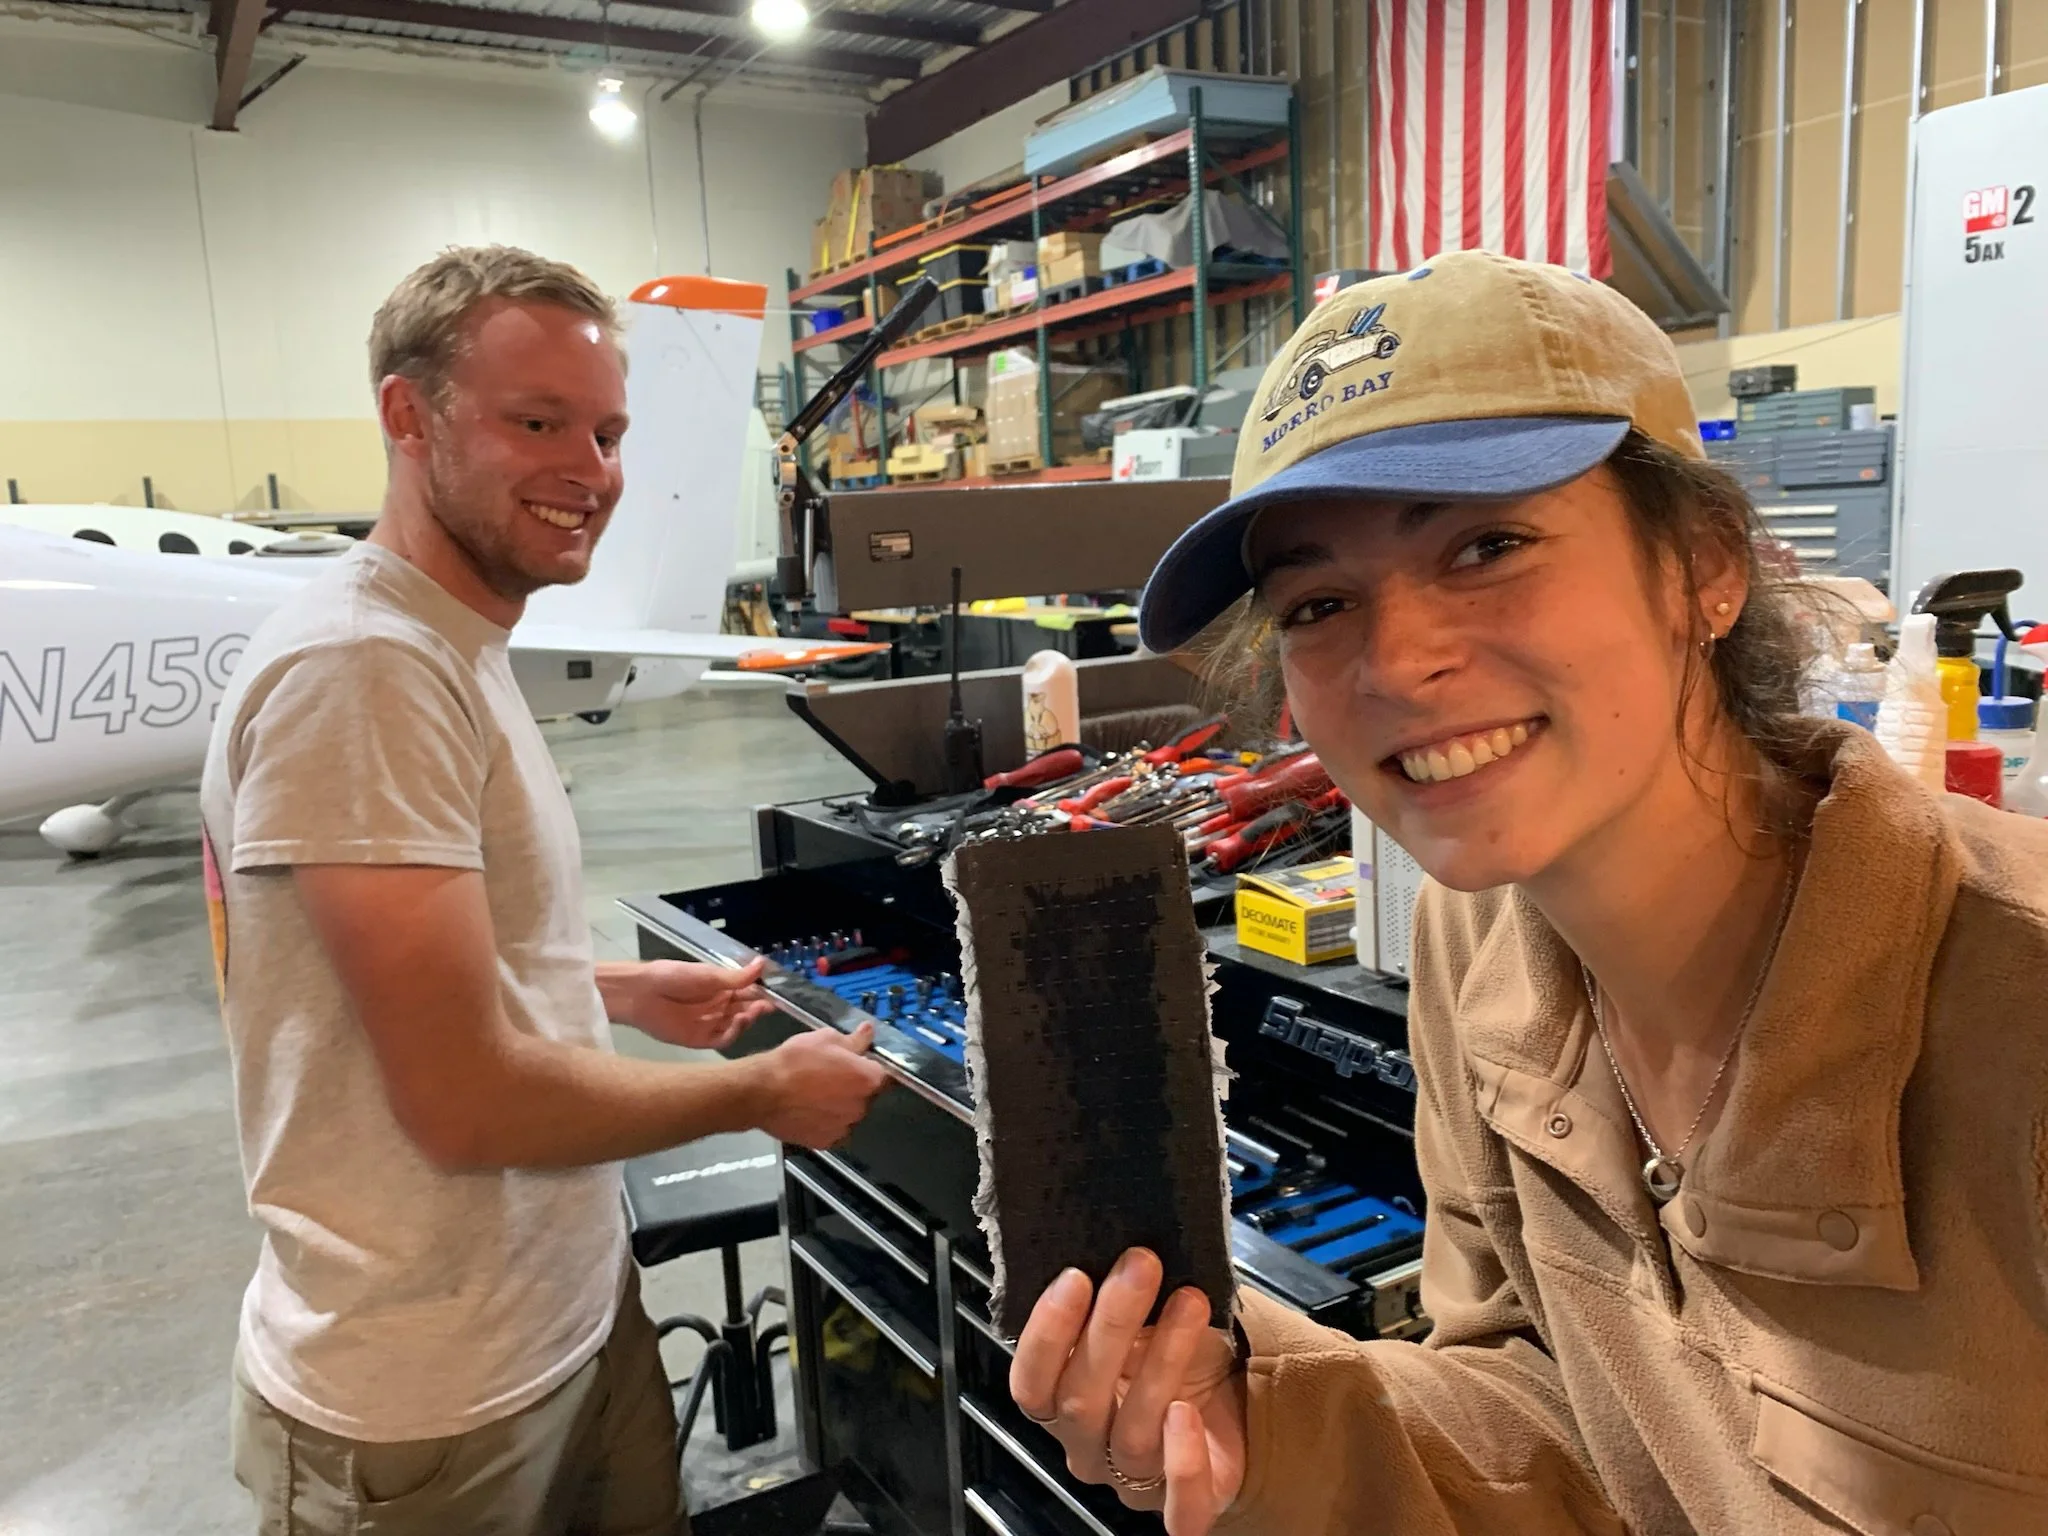
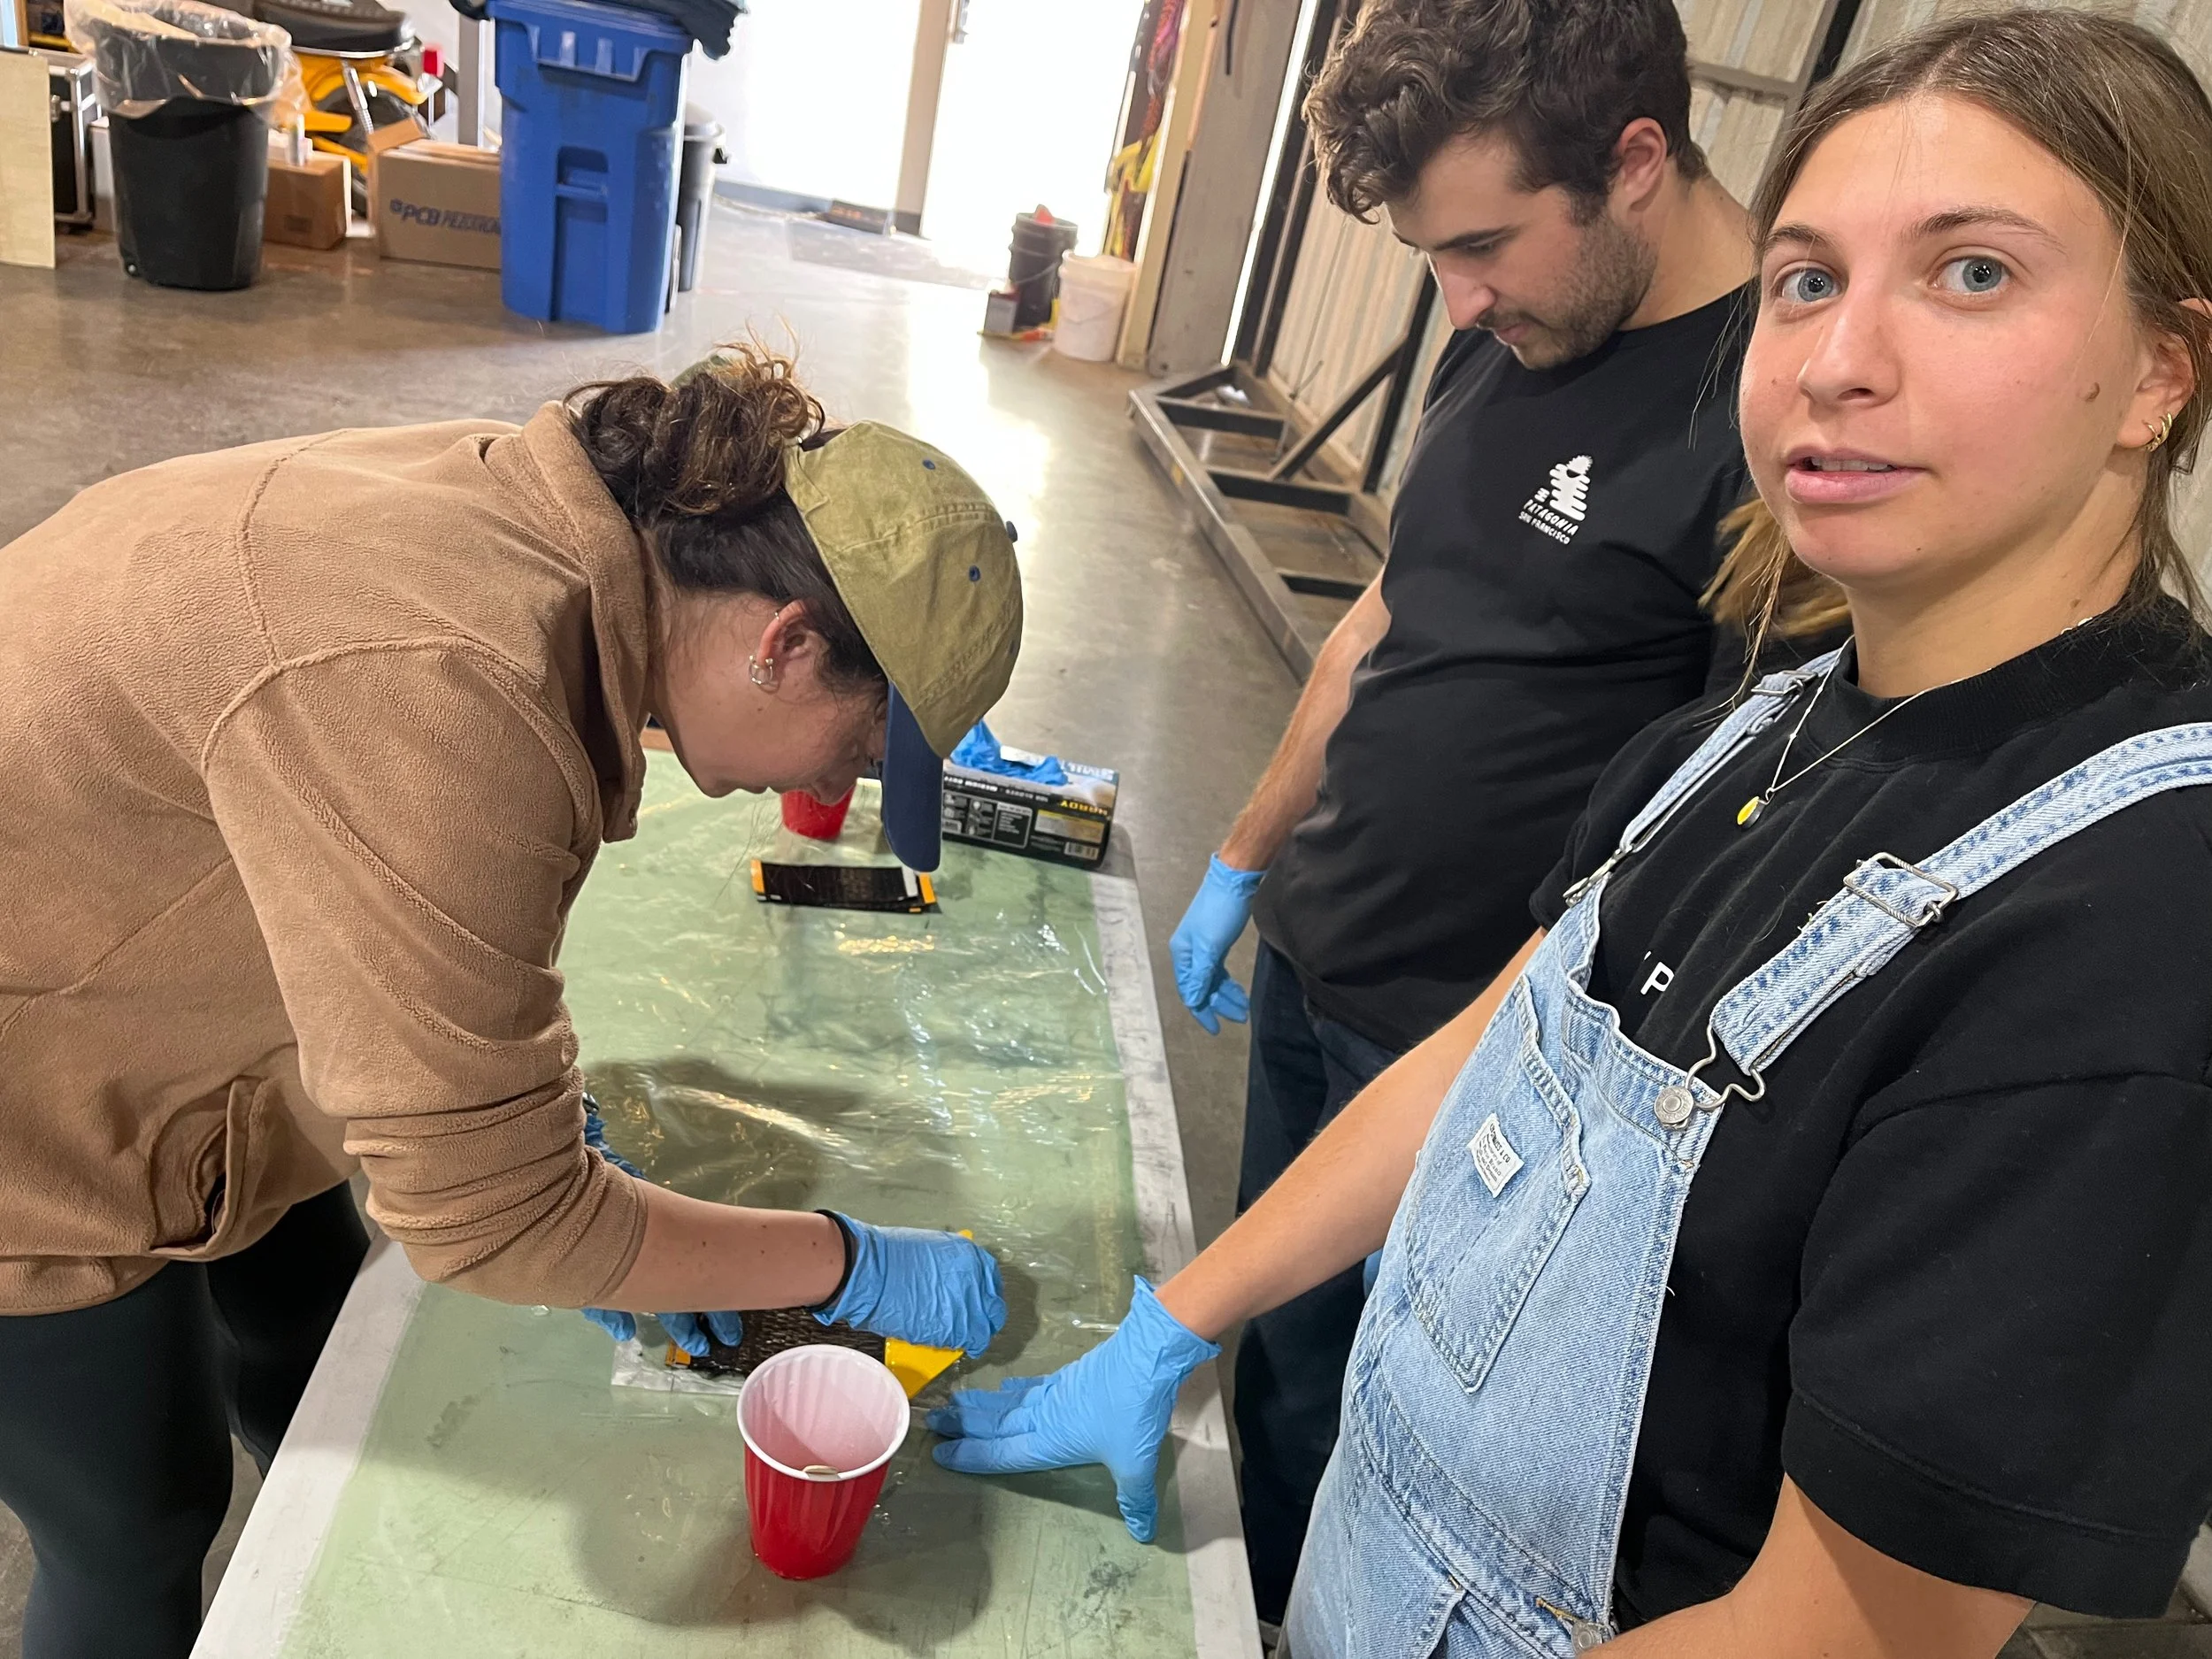
Since the material thickness in the FEM model are not necessarily the same as the uni carbon I was able to get, we needed to determine the thickness of my carbon. This was a great opportunity to get some of the students helping familiar with a simple layup. We laminated 10 plies together, measured the thickness and then calculated the layup schedule of the actual spar.
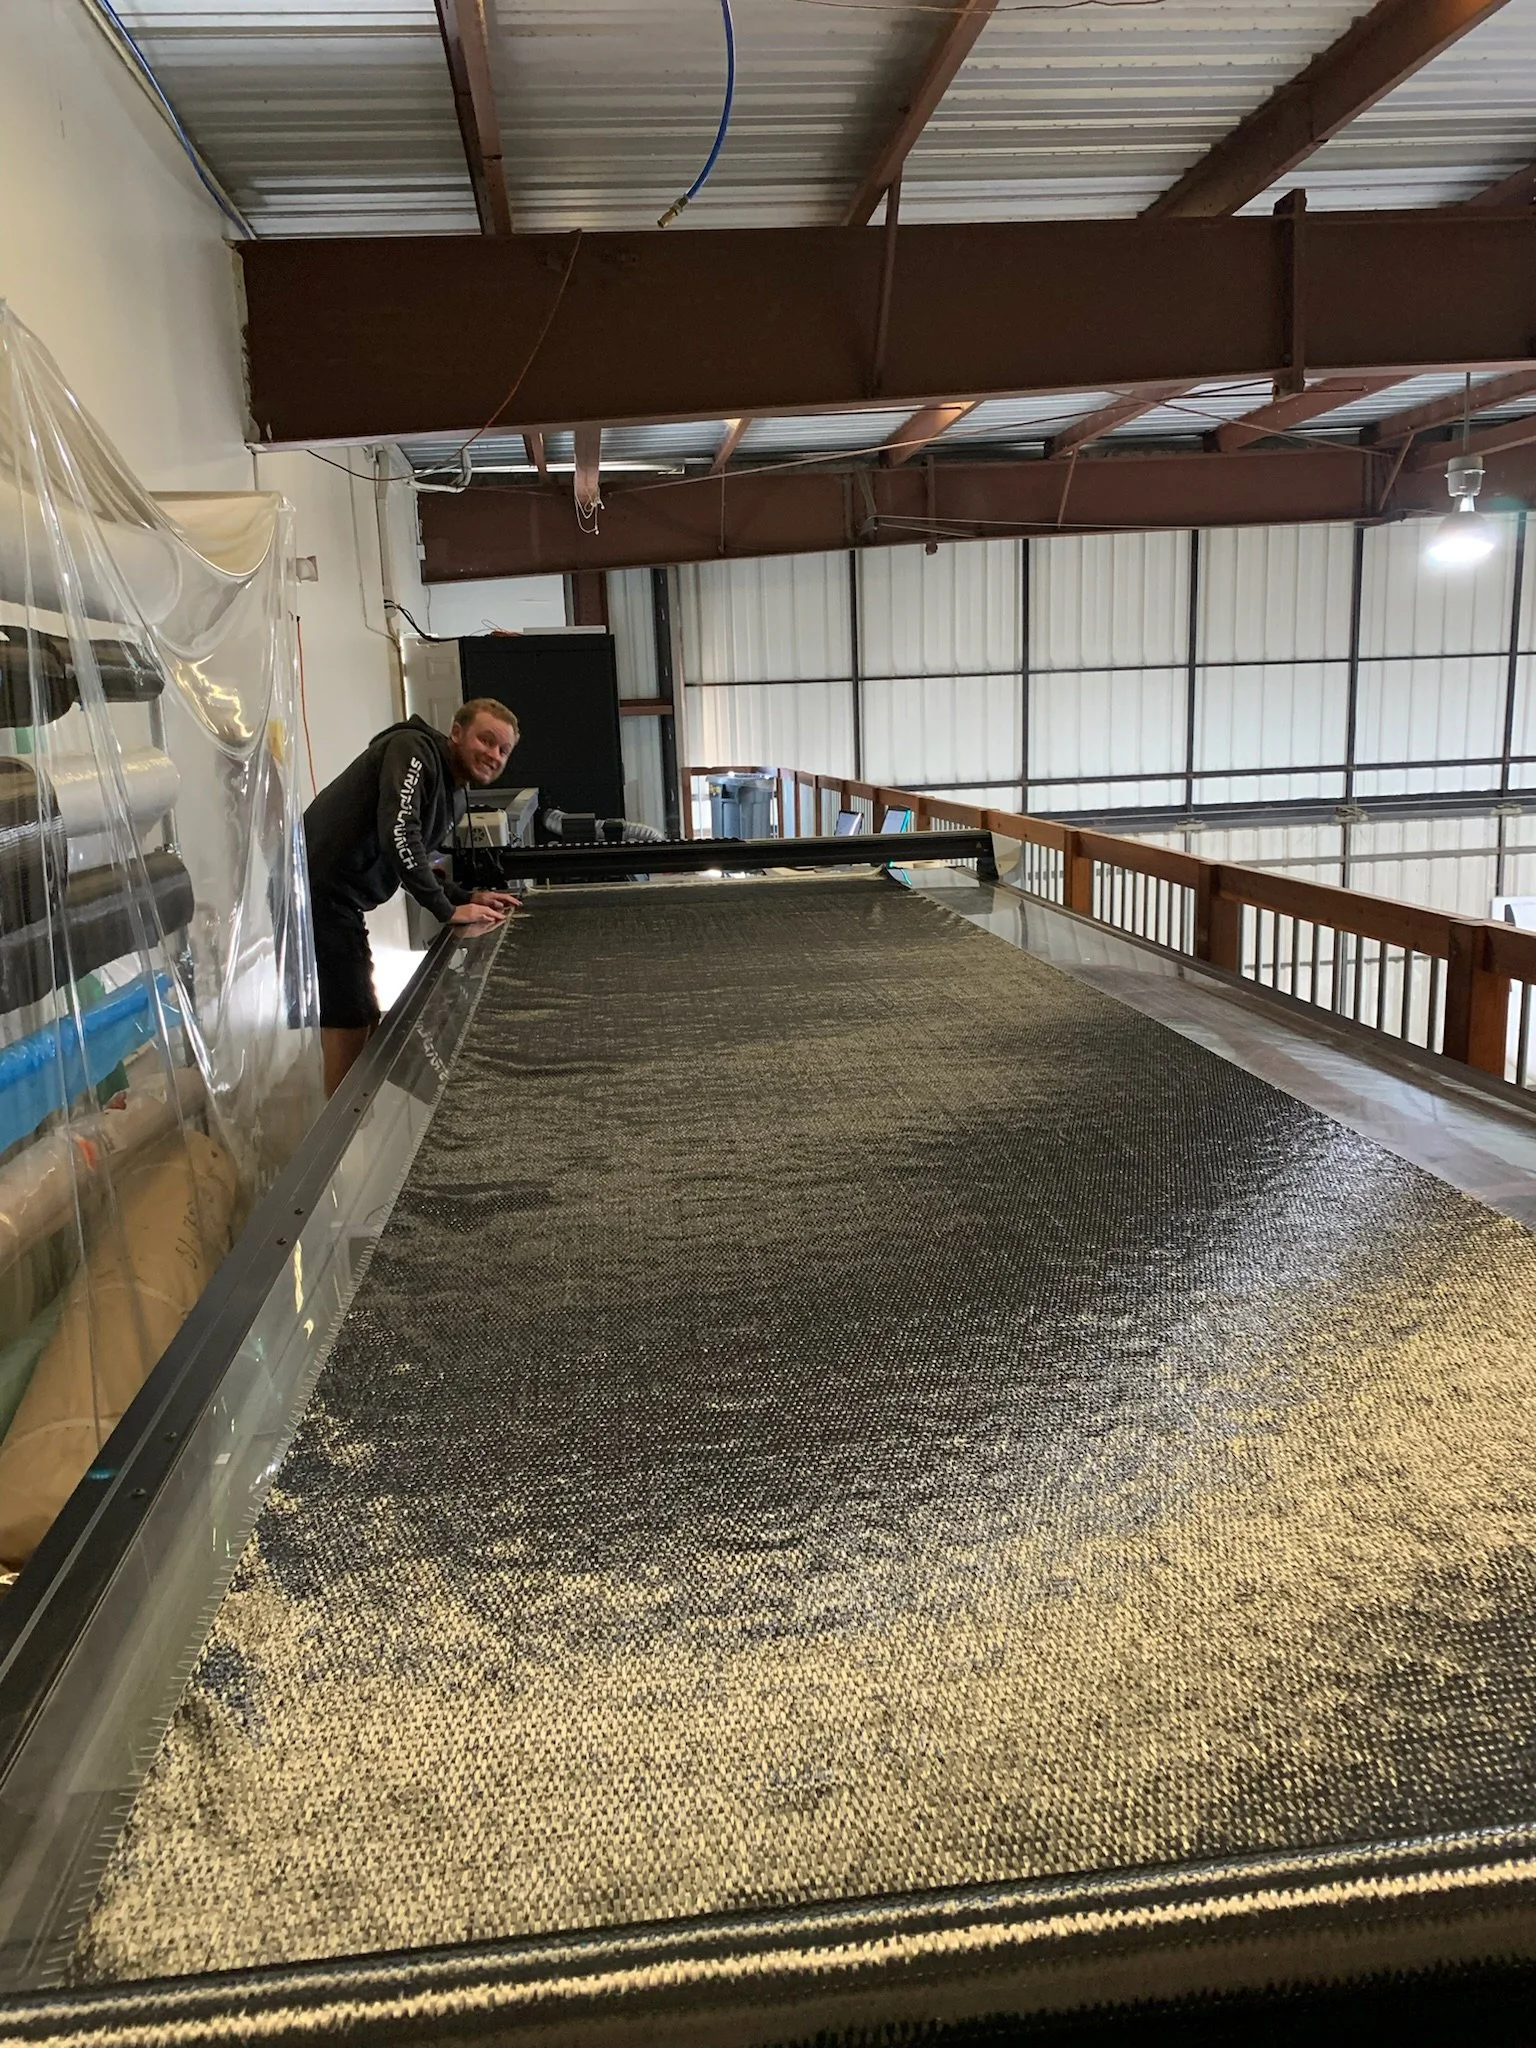
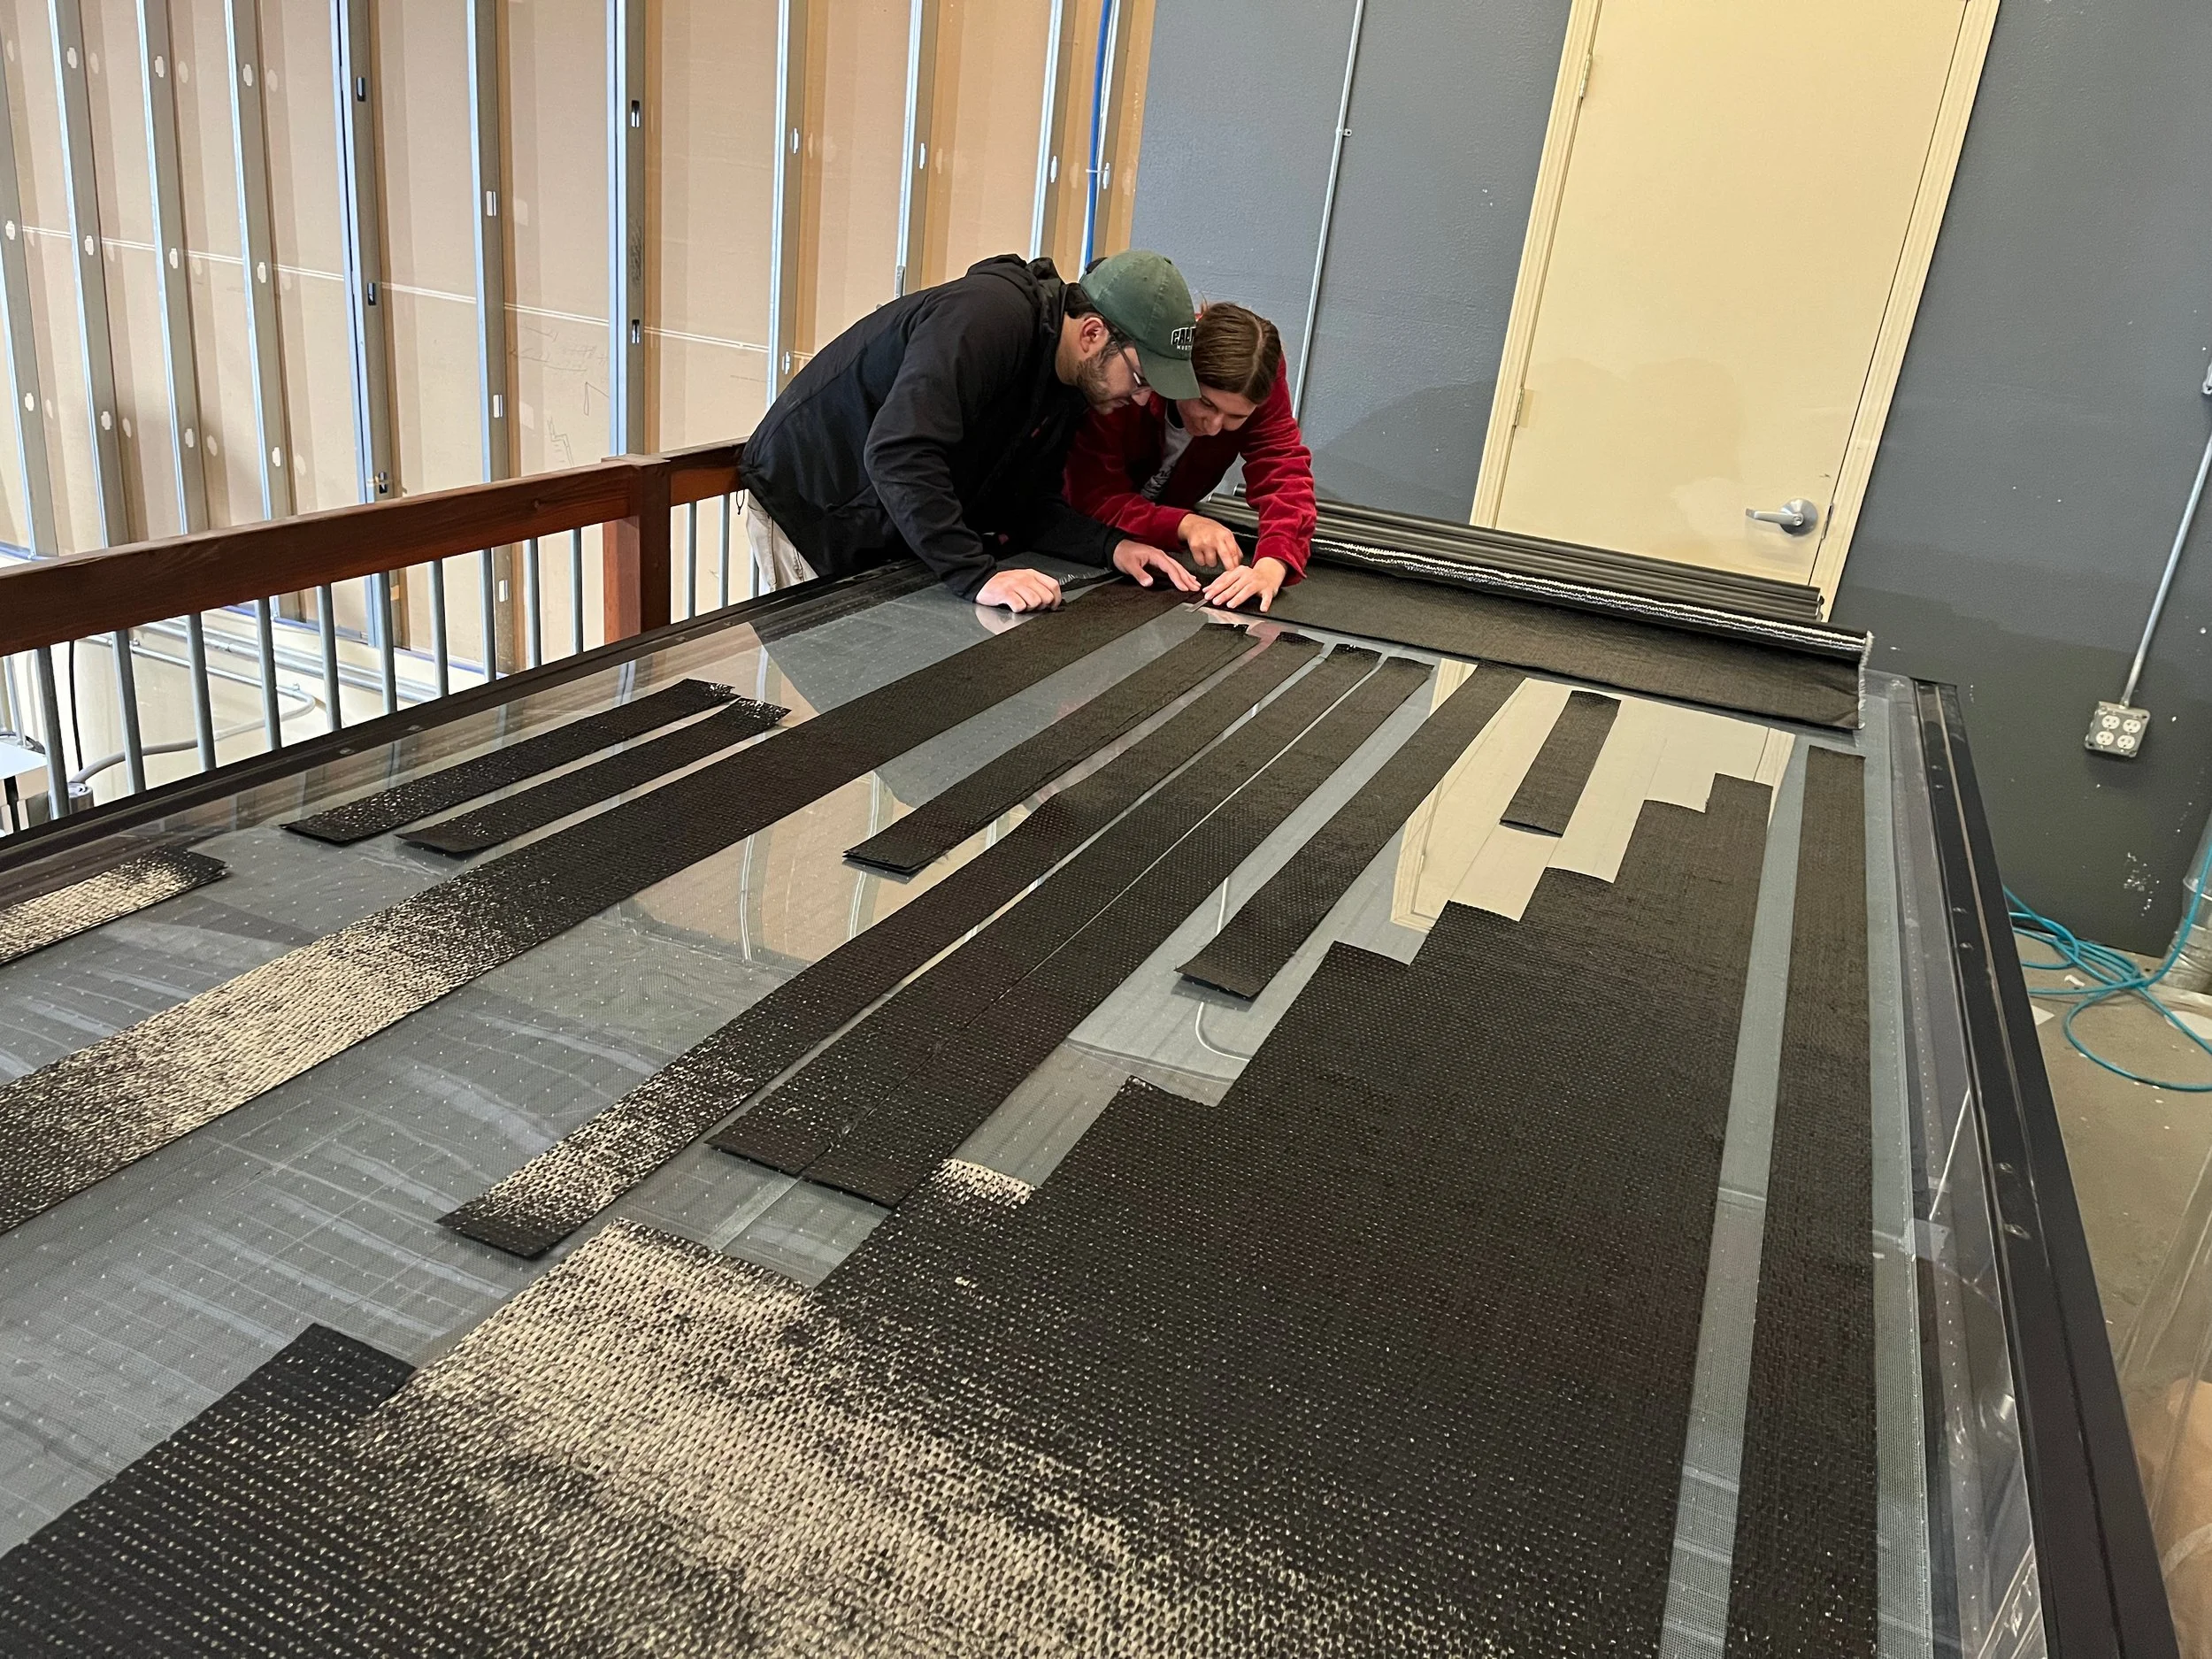
I cut all the uni we needed for the spar caps on the fabric cutter which made it super easy. Time for the layups!
Spar cap carbon: Hexcel Intermediate Modulus 12k 300gsm IM2