Elevators Part V
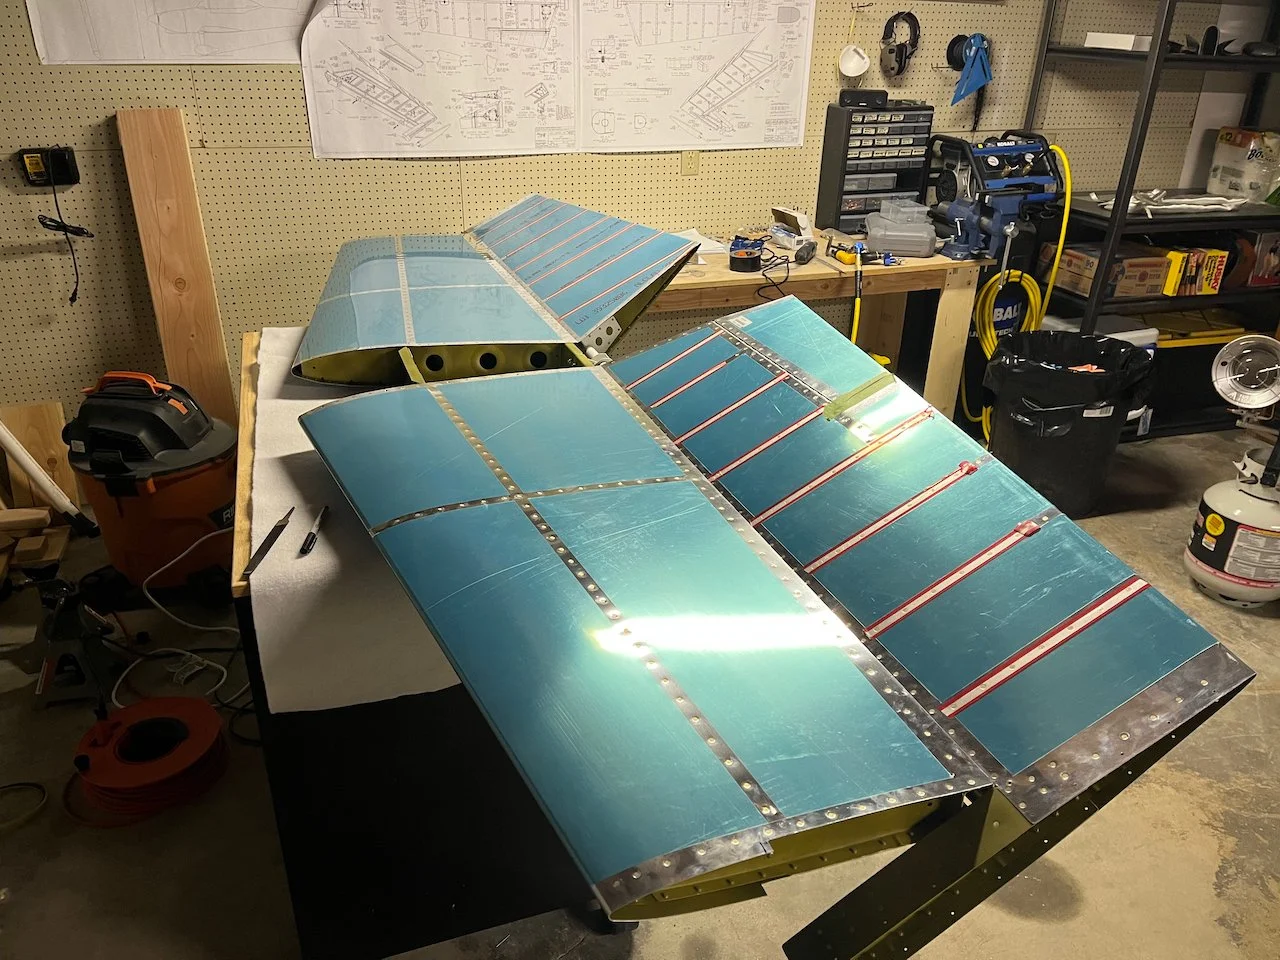
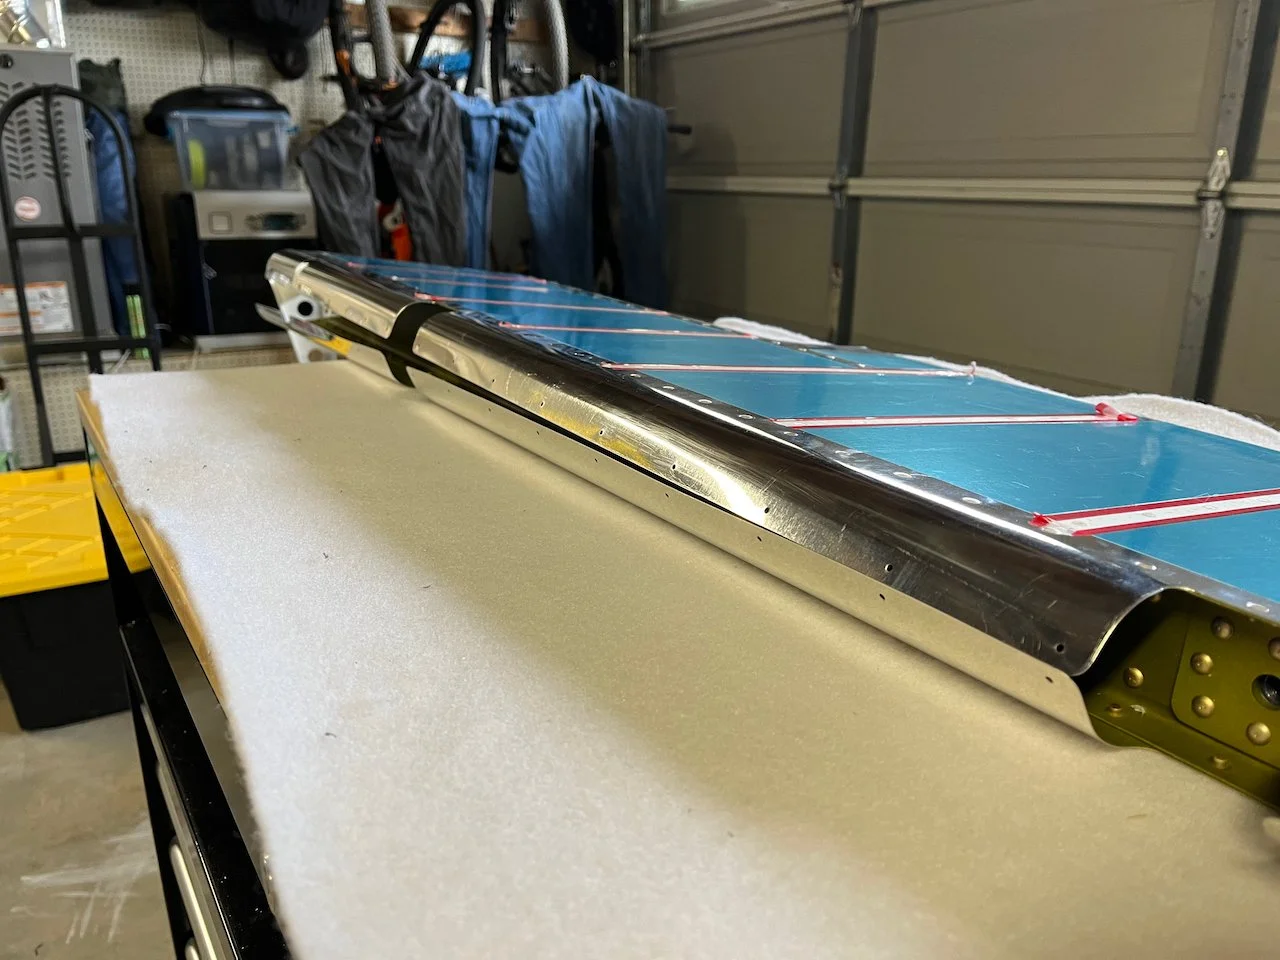
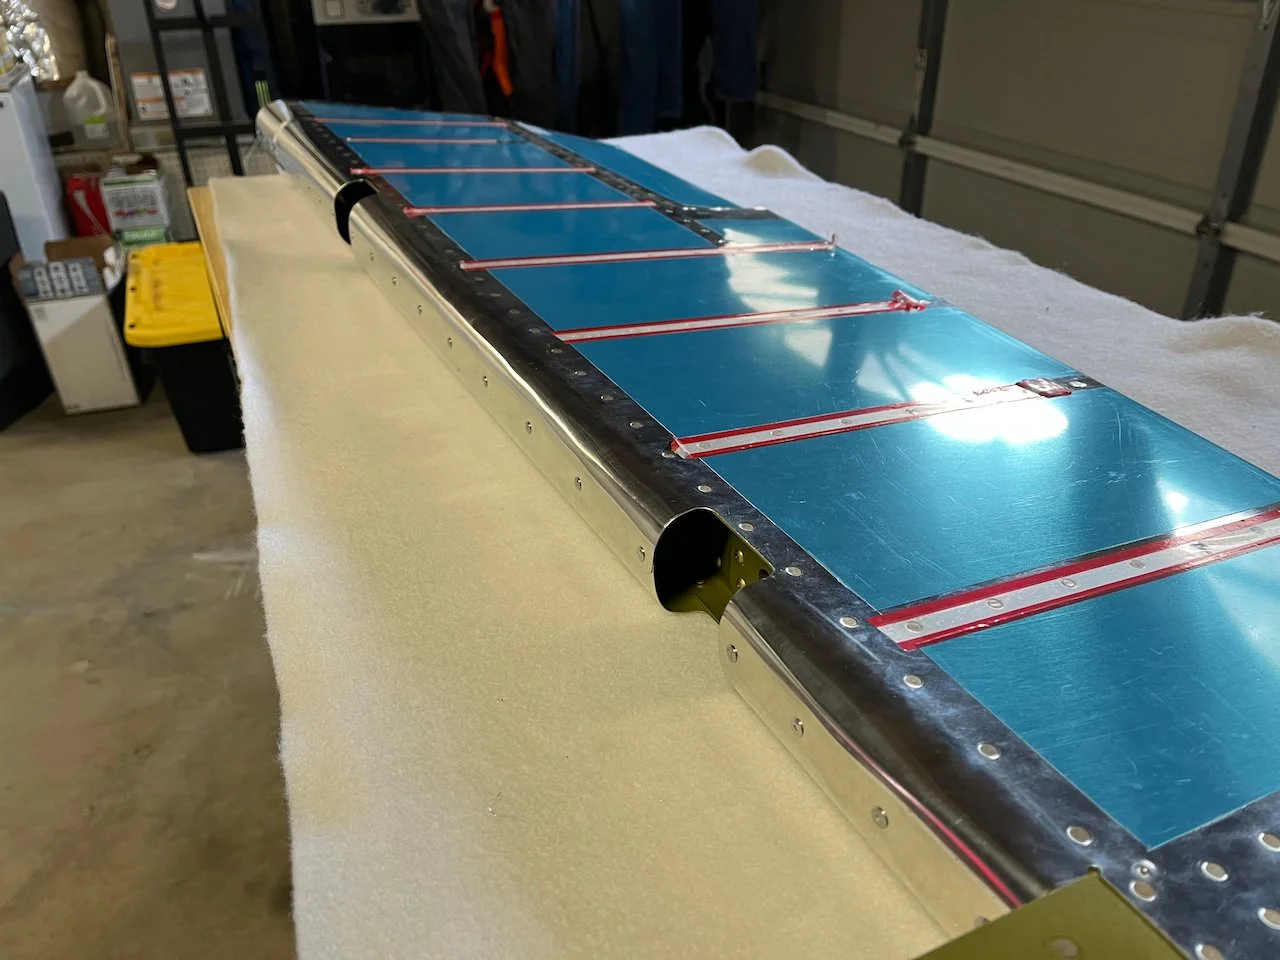
Now it’s time to start putting the parts together and fitting everything up. To finish up the elevators, I rolled the leading edges with the help of my roommates. With each leading edge I’ve rolled, I’ve definitely found little tricks and gotten better. I wish I could go back and re-do all of them now, but oh well. It definitely helps to have two hands to have someone hold the far end of the rod to prevent the far end from rolling too sharply and close to the spar.
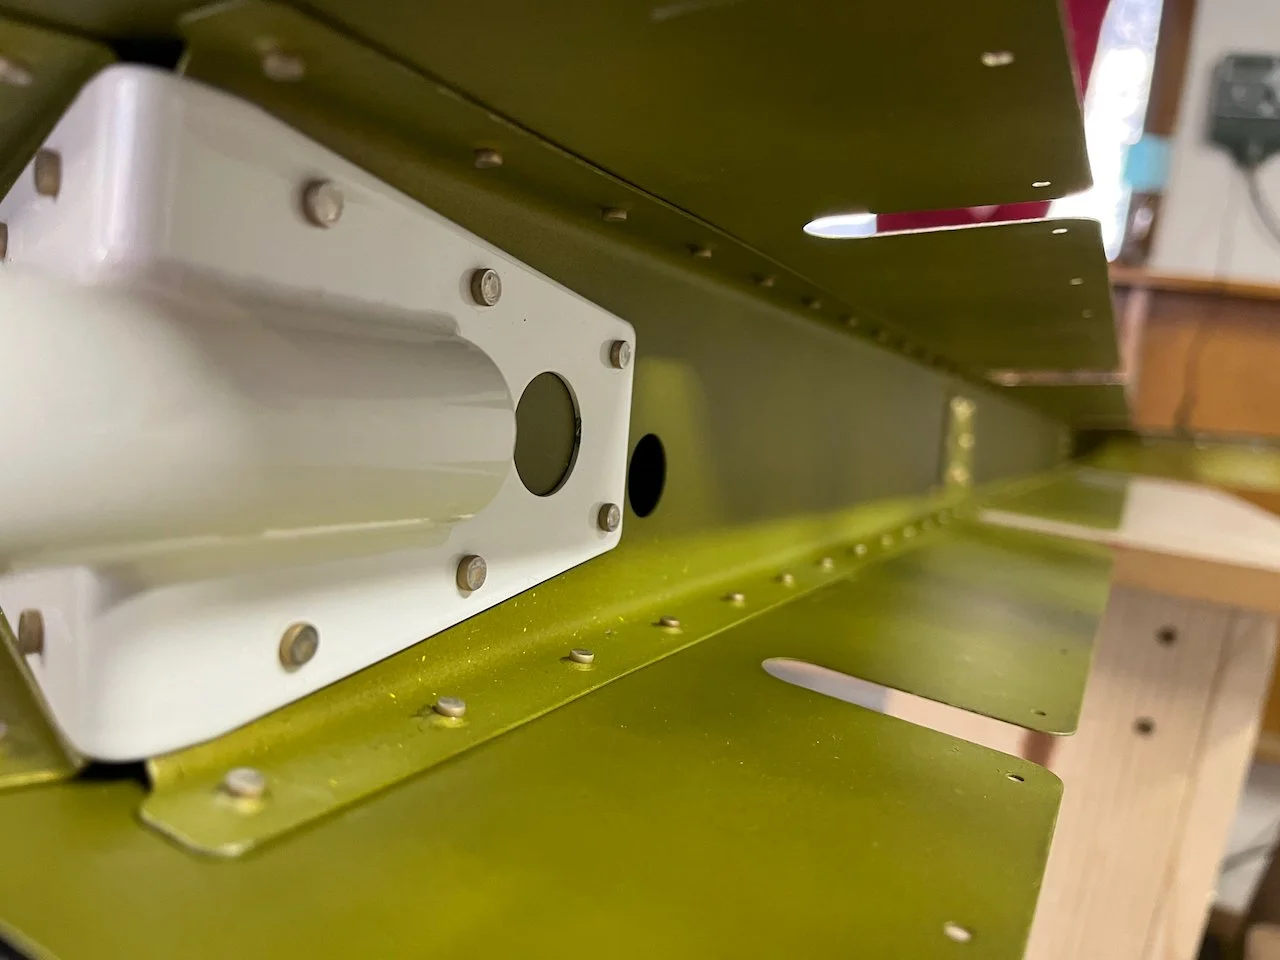
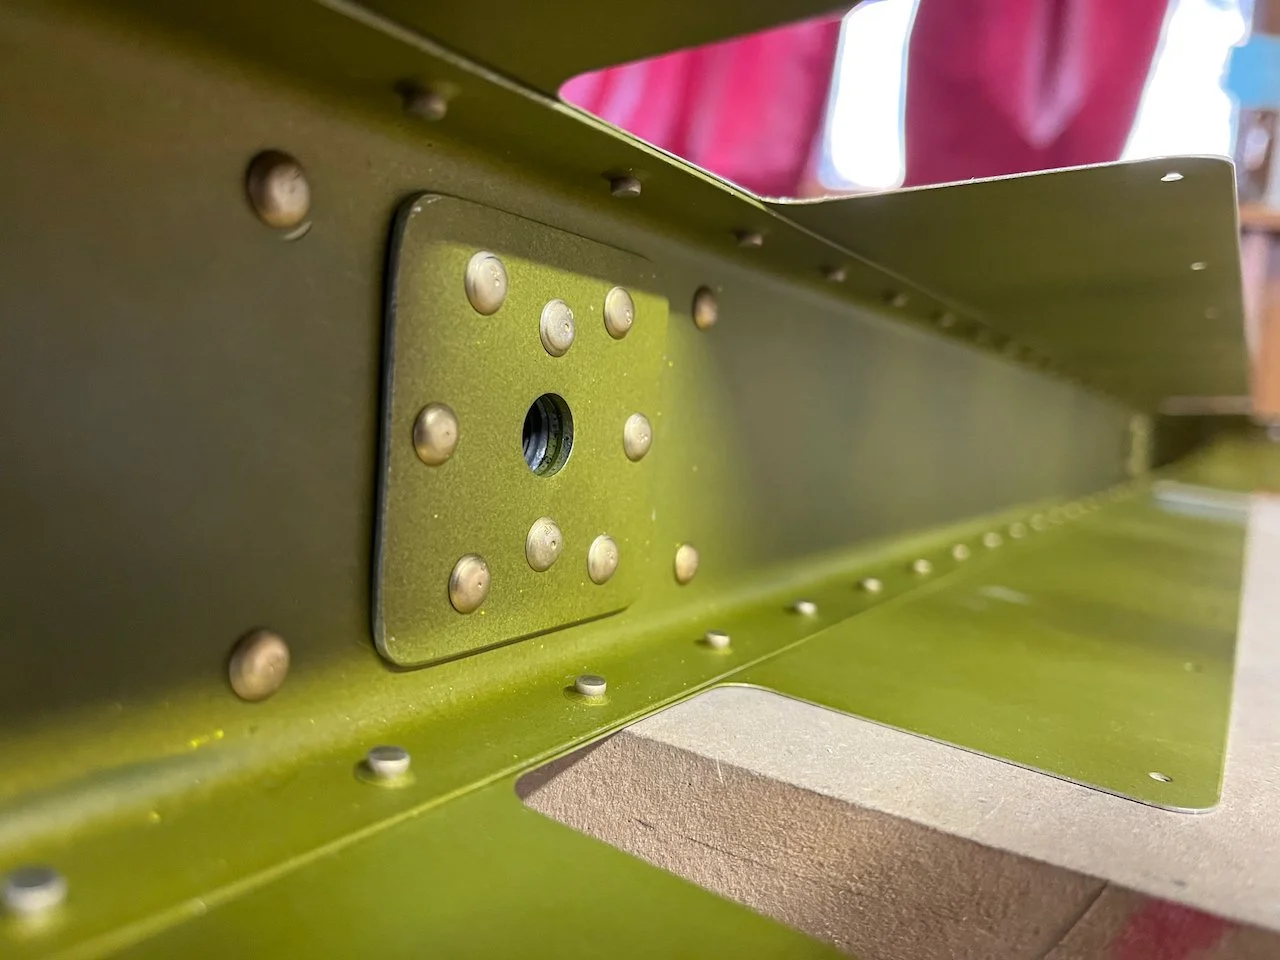
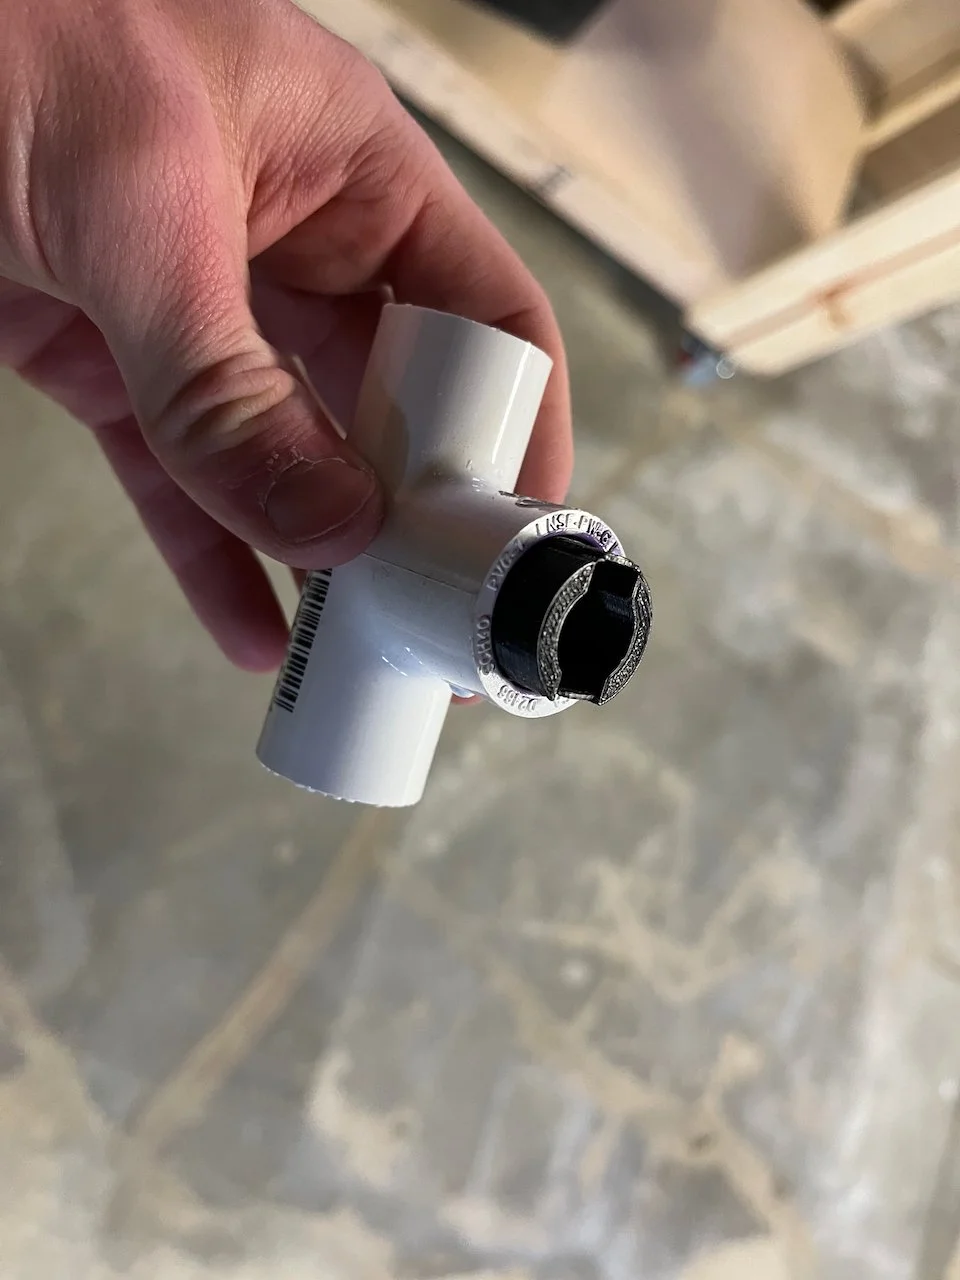
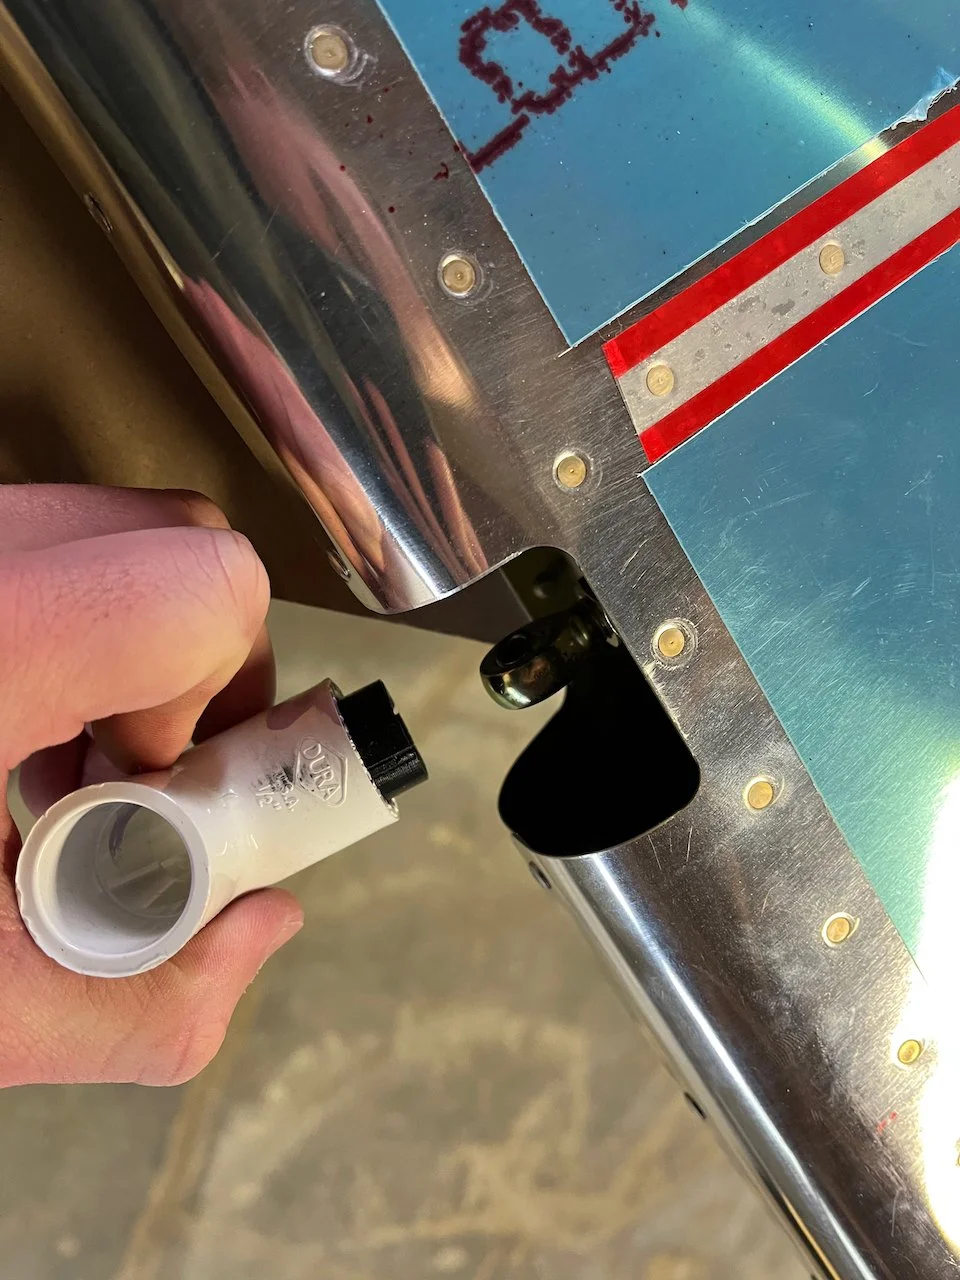
Then I installed the rod-end bearings. They require quite a bit of force to install because the threads in the nut plates are deformed (as a locking feature). So I made this little 3D printed insert to put in a PVC tee to help turn the rod ends. It actually worked pretty awesome and was able to set the rod ends in the exact right place. Then, I was ready to install the elevators to the H-stab!
At first, the forward end of the balancing horns interfered quite a bit with the h stab skin so I installed the elevators, marked the interference points, took off the elevators, trimmed the skin, and re-installed them. Now I just have to clean up the cuts and make sure I have the correct clearances and we should be ready to start fitting up the fiberglass.
I did a preliminary check on the control throws and it looks like we’re getting a good amount of throw, which is great! Next step it to drill the center holes in the elevator horns and then start doing fiberglass on the tips, keeping in mind I’ll need to leave the weights open so I can balance them later.