H. Stab Part III
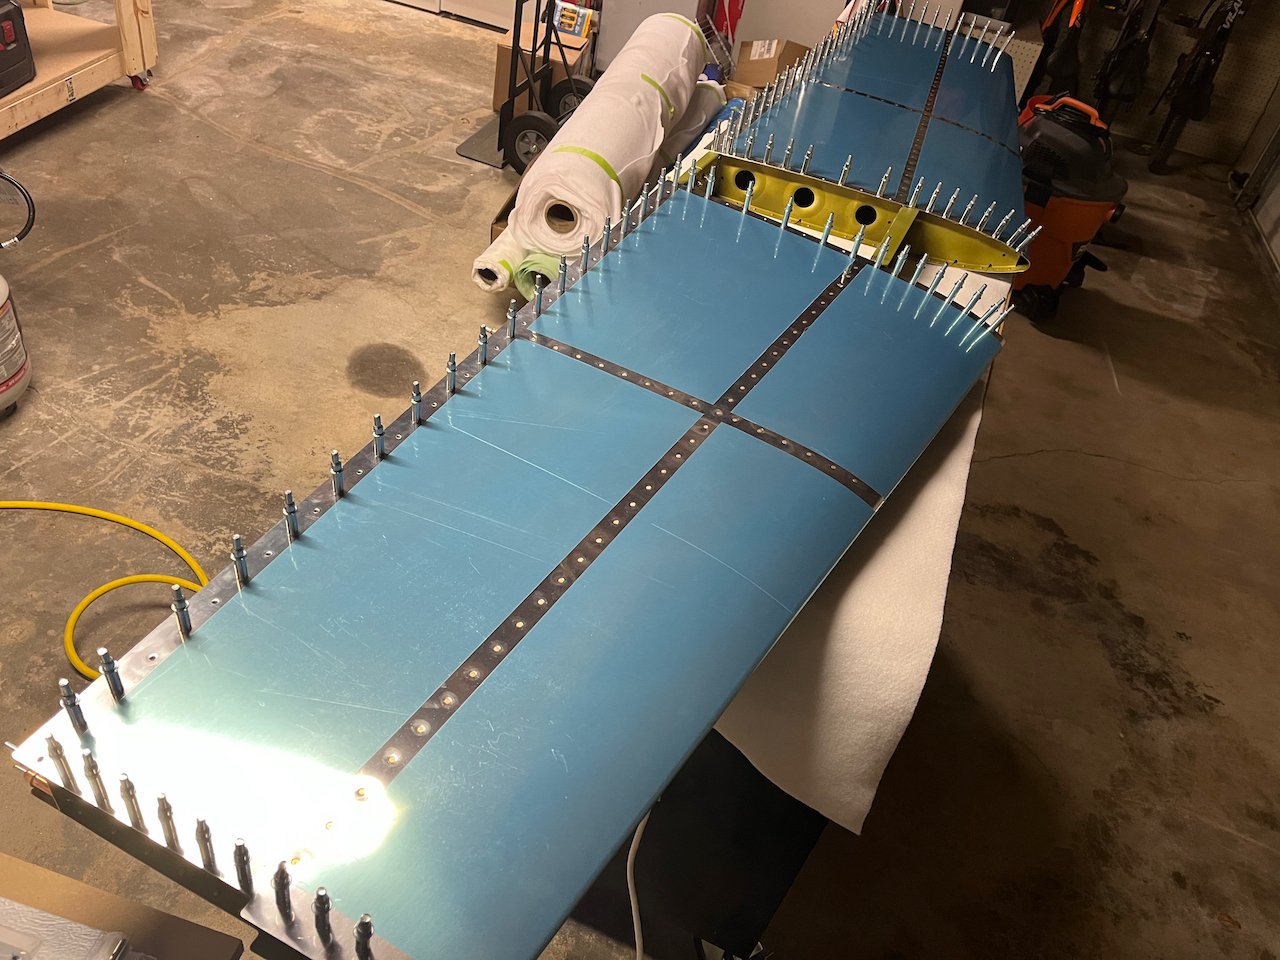
Finished up the horizontal stabilizer last week. After all the prep work is done (drilling, deburring, priming, etc…), the riveting part goes relatively quick. I completed the left side first, and learned a lot from that. Some of those lessons were outlined in the last part. One of the toughest parts was getting the rivets on the very leading edge to lay flush with the skin. I tried setting them with only one side of the skin cleco’d together, but found if I cleco’d both sides of the skin together and put on the root and tip ribs, it was much easier to get those leading edge rivets to sit flush.
The whole riveting process went pretty smoothly. I took lots of pictures of the inside rivets before I riveted on the rear spar for documentation and proof of rivet quality later on. I wish I could talk more about the riveting steps, but it was pretty straight forward. My biggest piece of advise is take your time on the prep work and fitting up the components so that when it’s time to rivet everything together, it all fits nicely. On to the infamous elevators next.


